This guide helps you install and configure Qodo with your Bitbucket Data Center (BBDC) instance. You can install Qodo on a single repository to start small or expand it across multiple projects as needed. Assuming your Qodo environment is already set up, configuring BBDC typically takes about 20 minutes. This includes creating access tokens, configuring the service, and setting up webhooks. Once complete, Qodo processes pull requests and delivers actionable output, such as code reviews and insights, directly in your pull requests.Documentation Index
Fetch the complete documentation index at: https://docs.qodo.ai/llms.txt
Use this file to discover all available pages before exploring further.
Prerequisites
Before you begin, ensure you have:- A Qodo on-premises deployment. You will receive your Qodo on-premises URL from your Qodo Account Manager.
- A Bitbucket Data Center instance. Version 8.x or 9.x.
- System administrator access to your Bitbucket Data Center instance.
- App upload capability enabled in Bitbucket Data Center.
If you require Bitbucket Data Center version 10.x, contact your Qodo Account Manager.
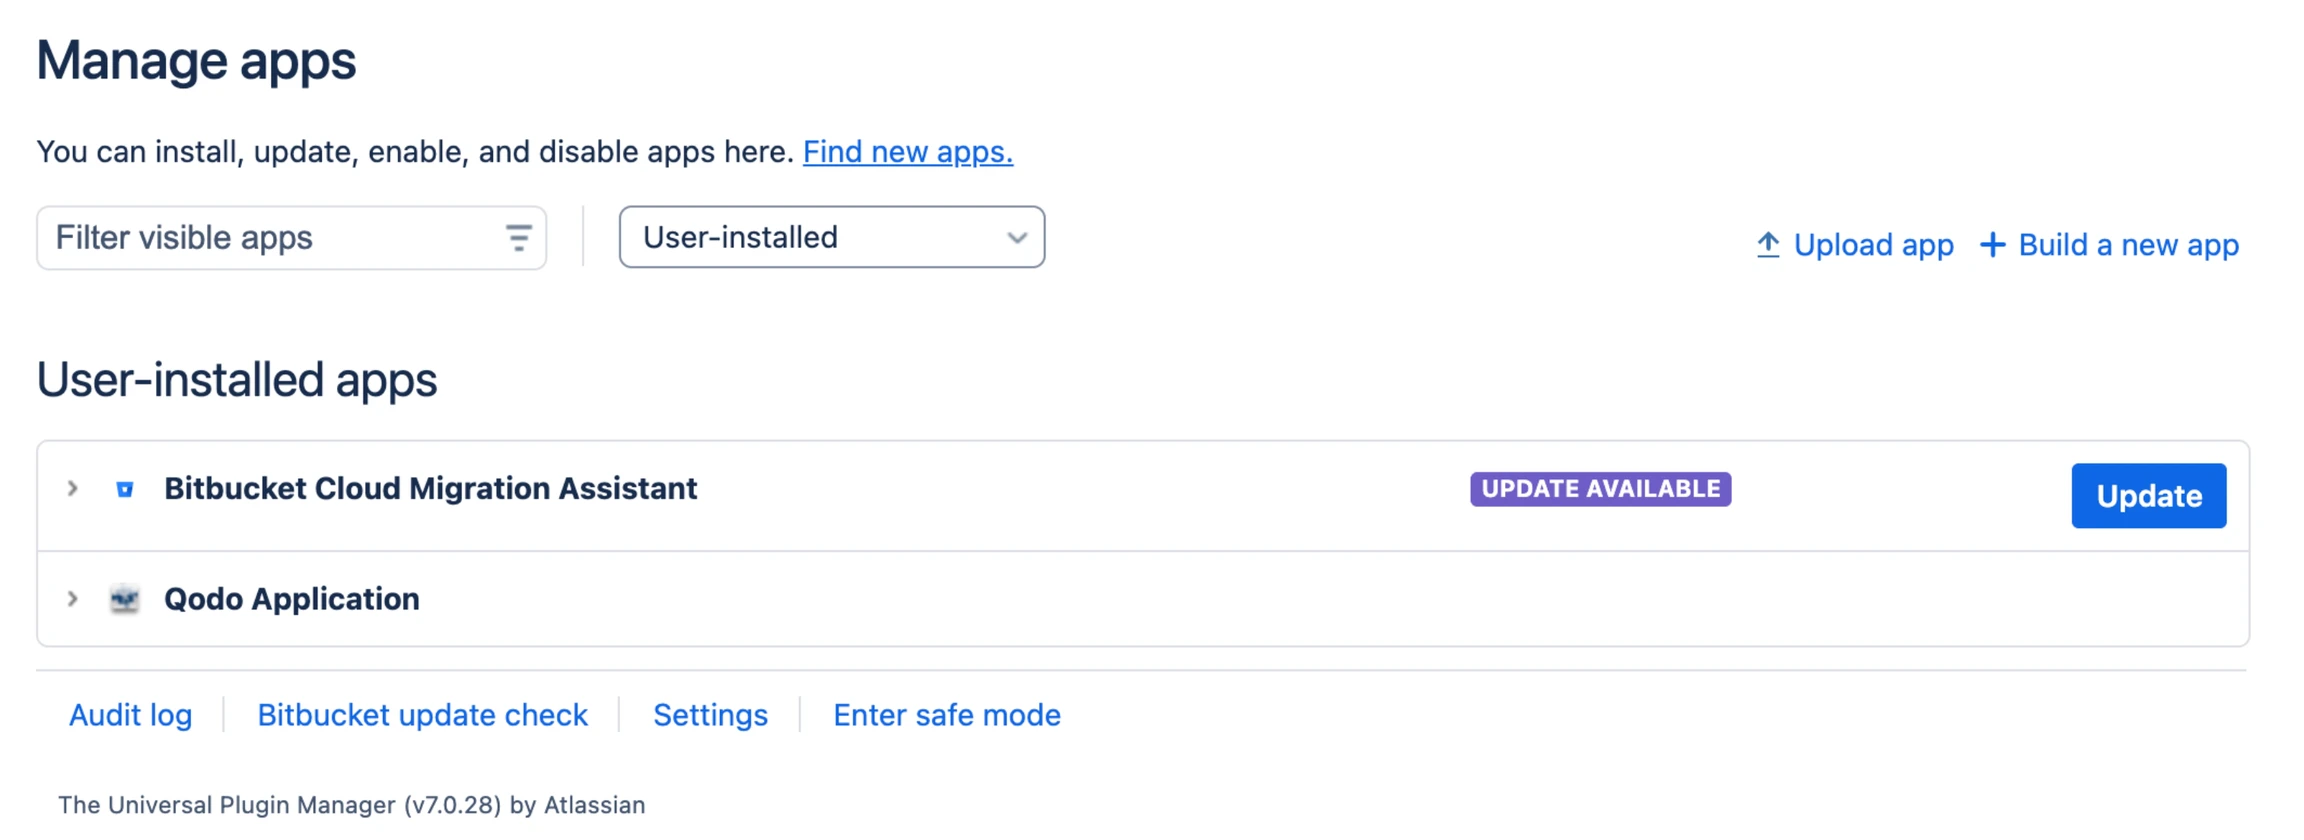
Verify app upload is enabled
Verify app upload is enabled
Installation
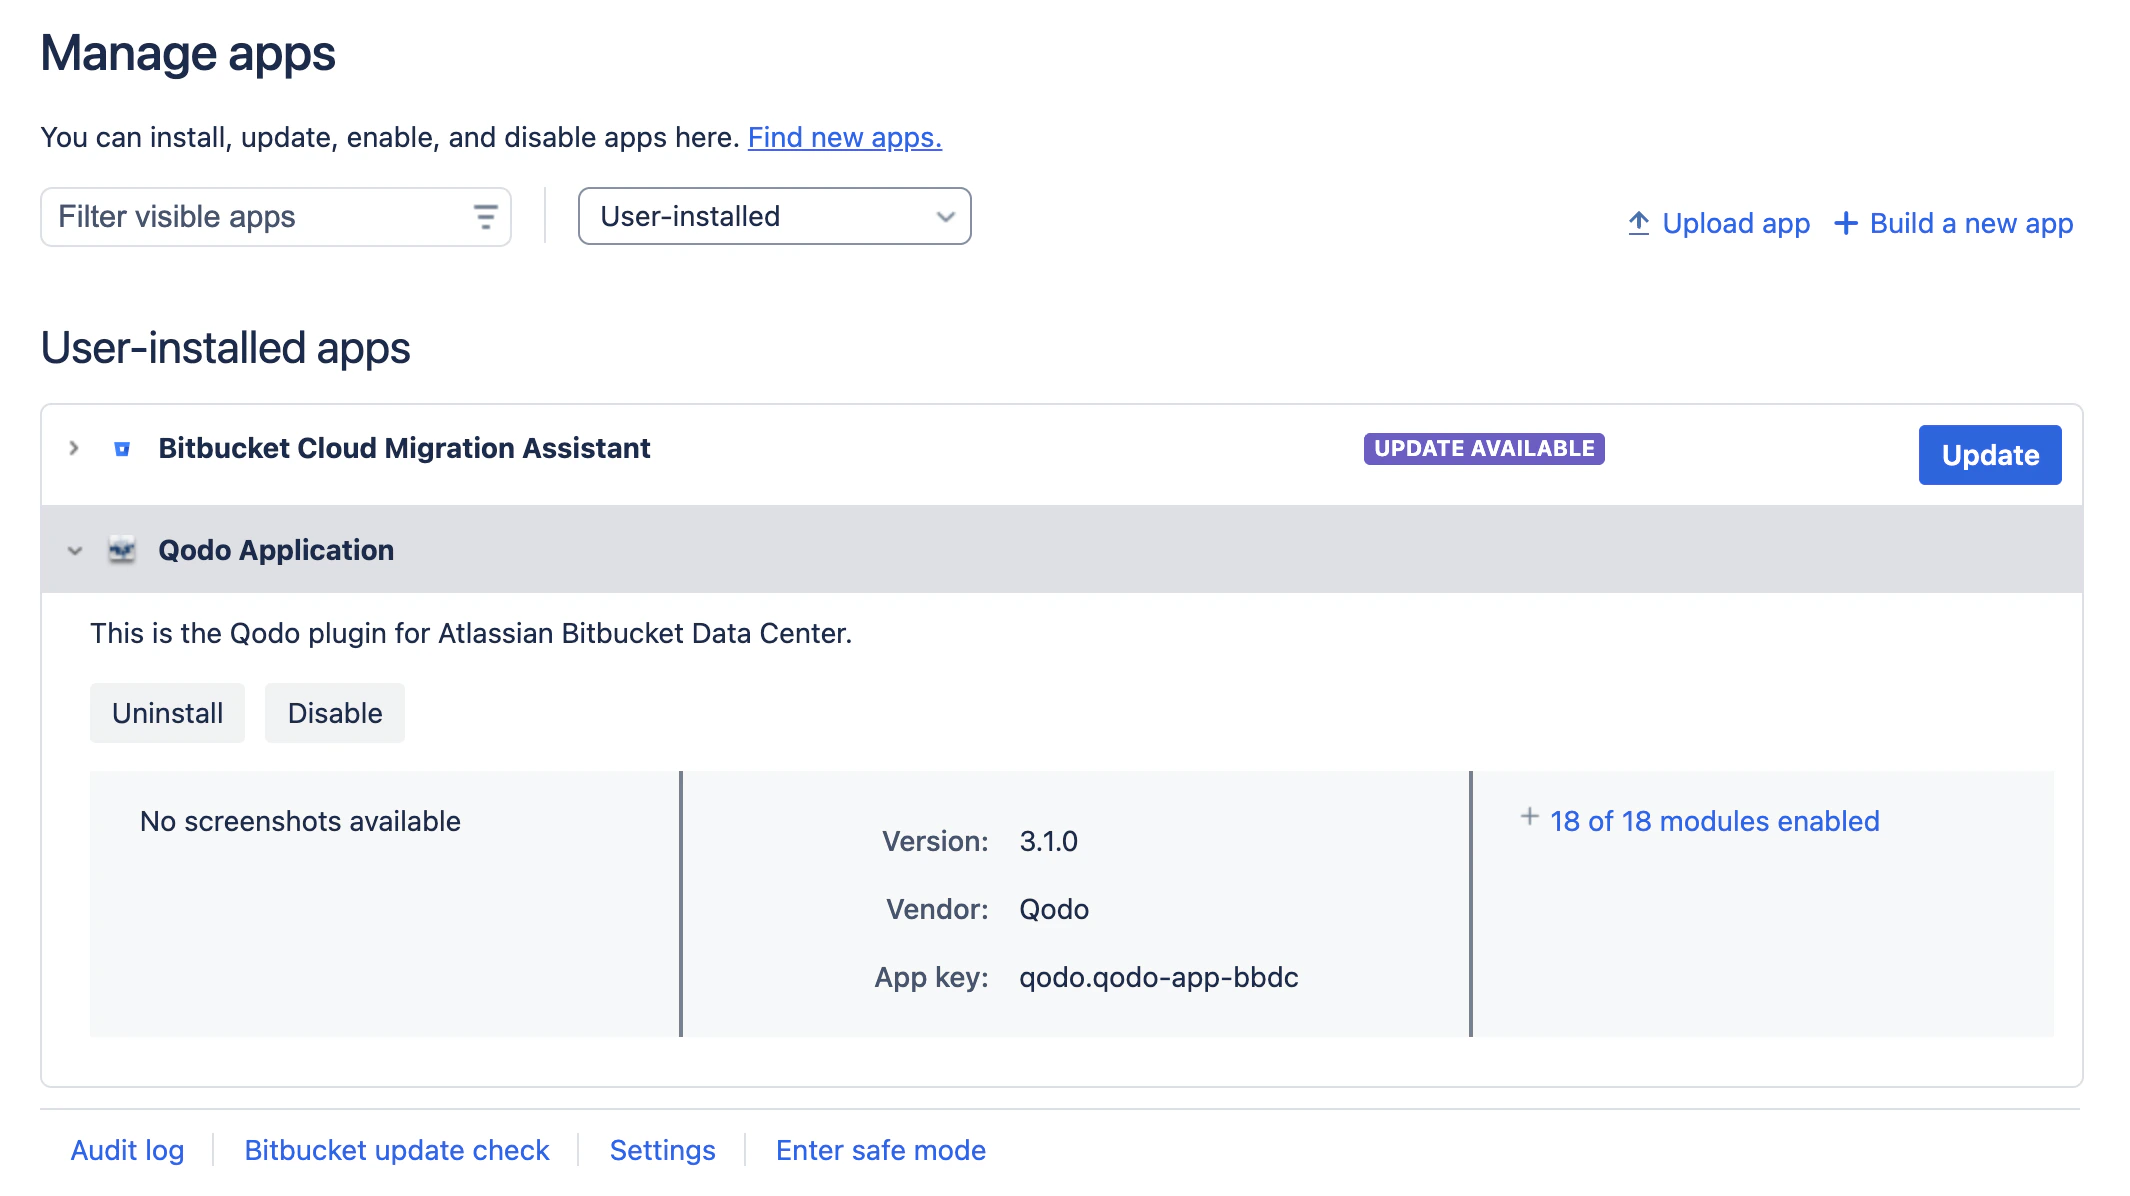
Step 1: Install the Qodo app
Download the appropriate version (download JAR file):
- BBDC 8.x: Use
qodo-app-bbdc-2.x.x.jar - BBDC 9.x: Use
qodo-app-bbdc-3.x.x.jar
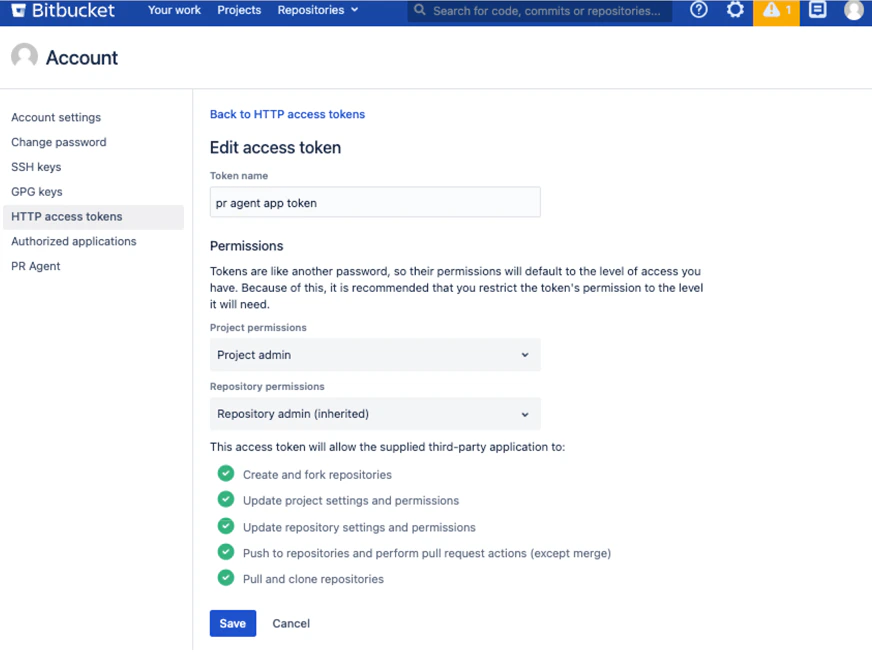
Step 2: Create an access token
You need to create an HTTP access token for Qodo to communicate with Bitbucket Data Center.For better visibility and auditability, consider creating a dedicated system administrator user (for example, Qodo) before generating the token. All pull request comments will appear under this user’s name.
Configure the token with the following settings:
- Name: Qodo Integration
- Permissions: Repository write access (minimum required)
Step 3: Create a shared webhook secret
Select a strong secret value (it can be any string). You can use any secret generation tool you prefer.Step 4: Configure the Qodo app in Bitbucket Data Center
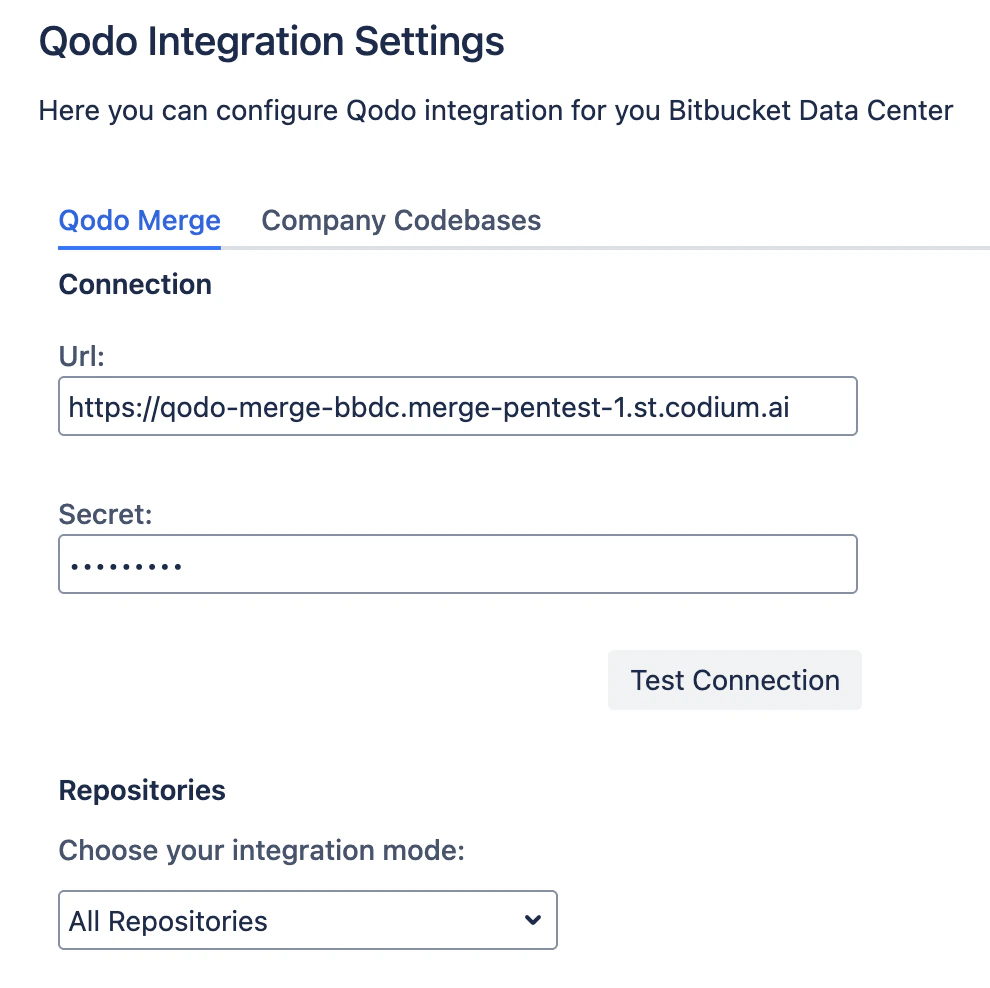
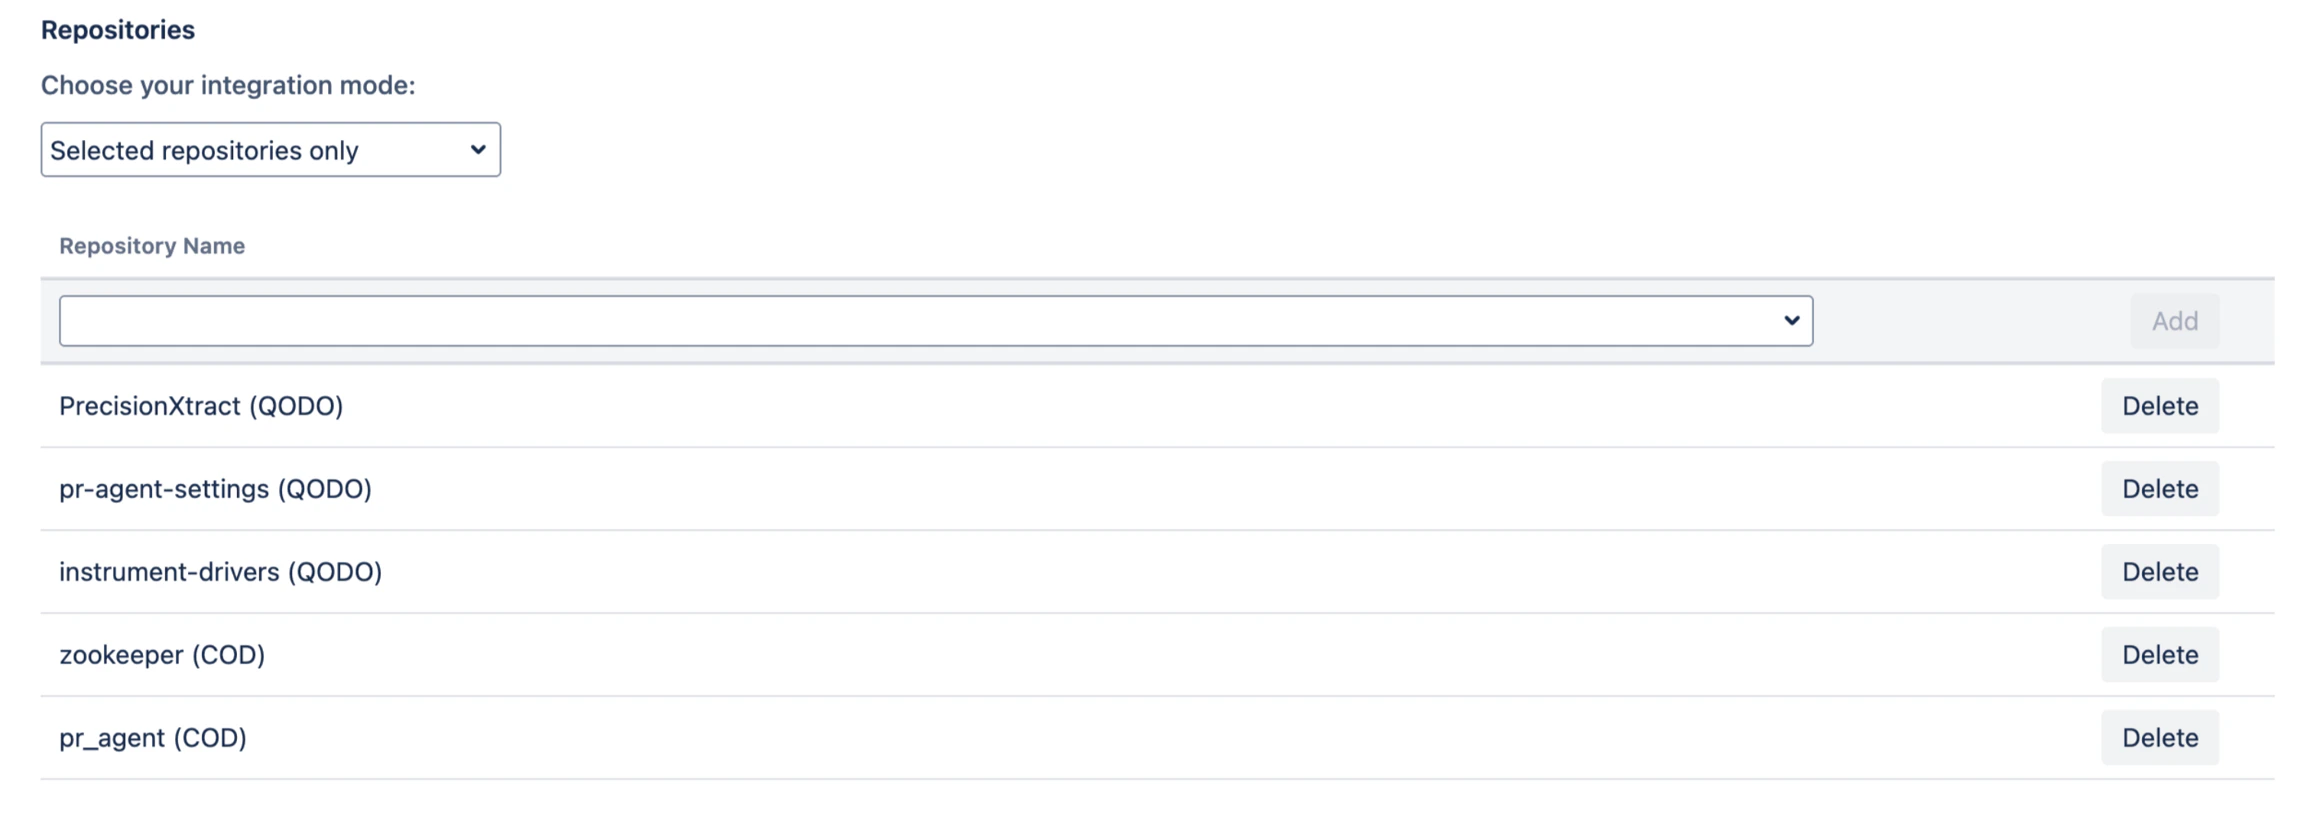
Step 5: Configure repository integration
Select how Qodo integrates with your repositories. Integration modes:- All repositories (default): Qodo is active on all repositories.
- Selected repositories only: Choose specific repositories to integrate.
- All repositories except: Exclude specific repositories from integration.
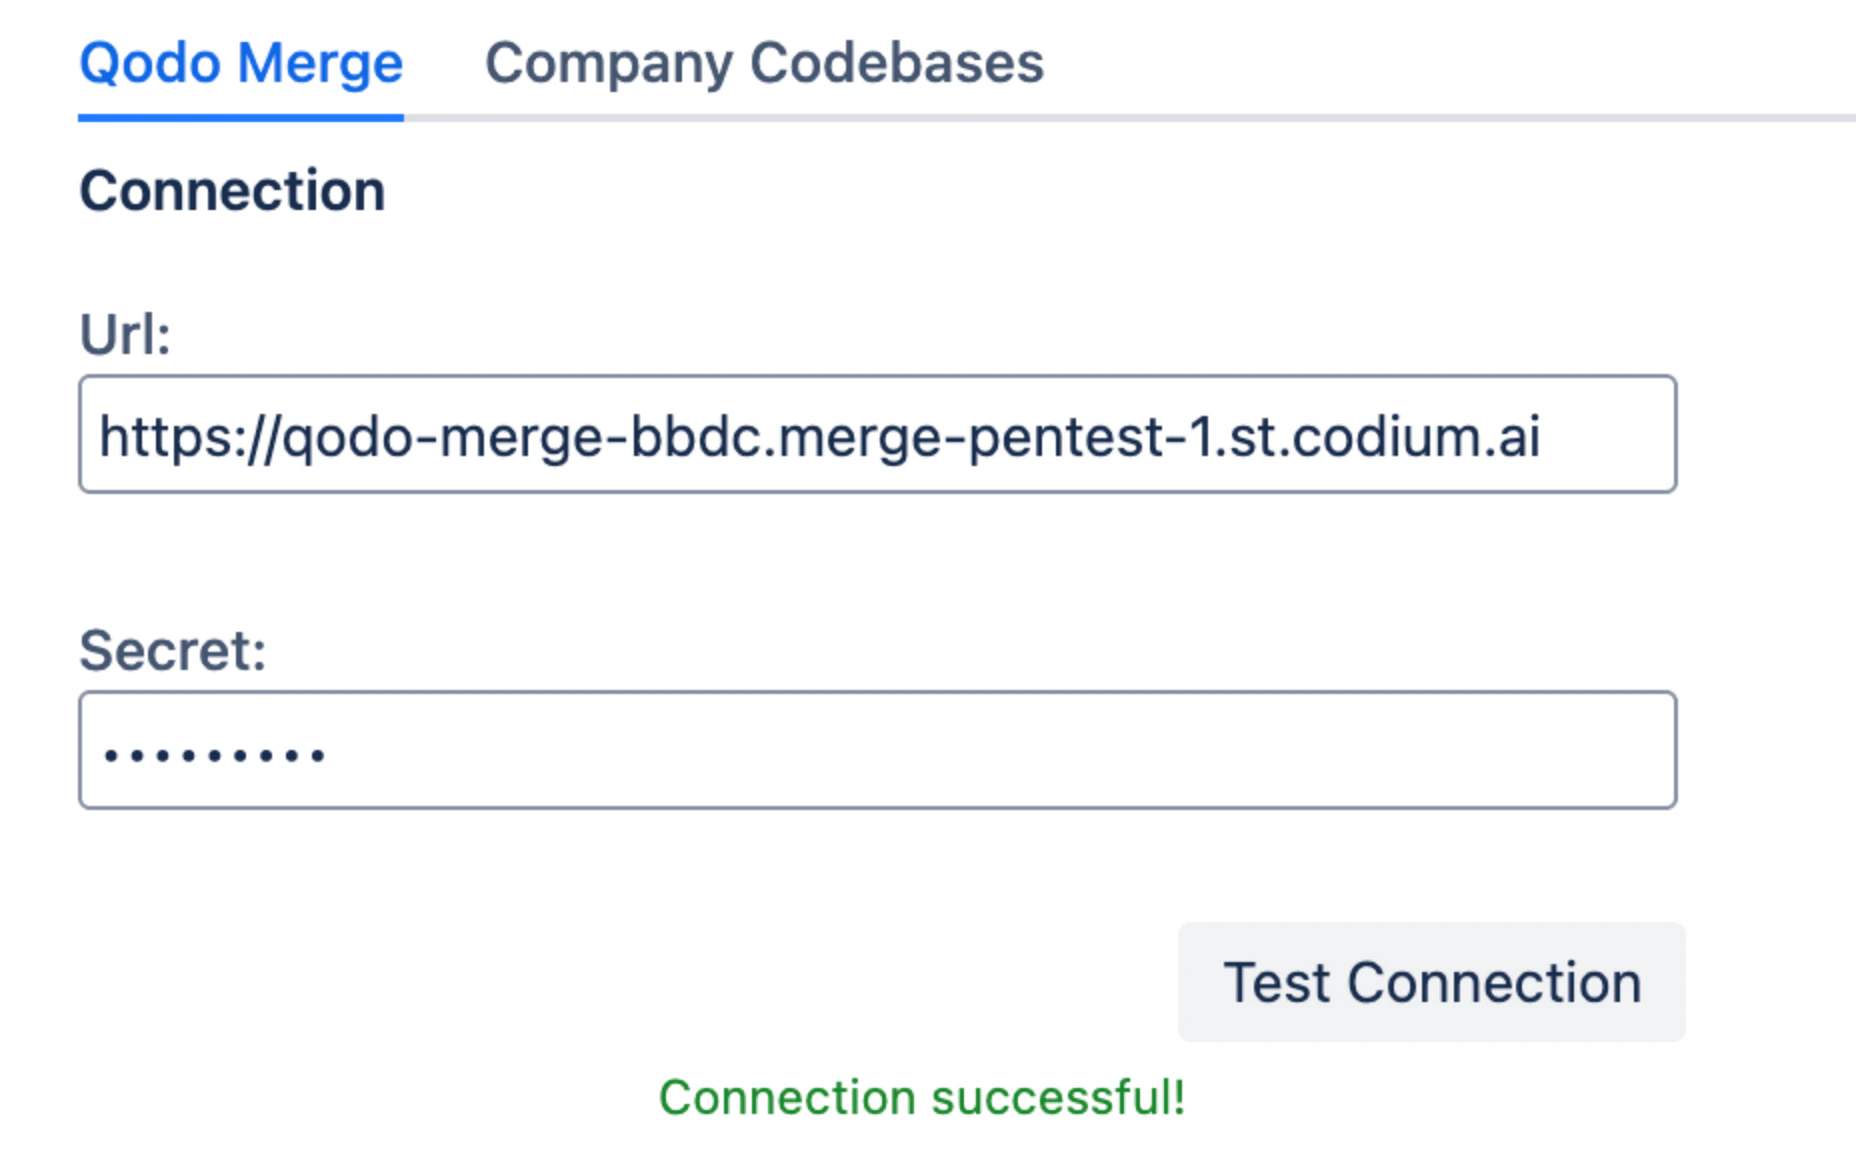
Step 6: Configure your Qodo instance
Add the following credentials to your Qodo on-premises configuration:For production environments, follow your organization’s secret management procedures to securely store these credentials.
Verify the installation
Test the connection
Run a test pull request
Open a new pull request in one of the connected repositories and confirm Qodo is triggered automatically.
Troubleshooting
If Qodo is not responding:- Verify that the app is enabled under Settings → Manage Apps.
- Check that the repository matches your selected integration mode.
- Confirm that the bearer token has the required permissions.
- Verify that the webhook secret matches in both Bitbucket Data Center and Qodo configuration.
- Review the Qodo logs for connection or authentication errors.