
Documentation Index

Fetch the complete documentation index at: https://docs.qodo.ai/llms.txt

Use this file to discover all available pages before exploring further.

This guide helps you install and configure Qodo on-premises with your Bitbucket Cloud workspace. Assuming your Qodo environment is already set up, configuring Bitbucket typically takes about 10 minutes. Once complete, Qodo processes pull requests and delivers actionable output such as code reviews and insights, directly in your pull requests.

Prerequisites

Before you begin, ensure you have:
  • A Qodo on-premises deployment. You will receive your Qodo on-premises URL from your Qodo Account Manager. It typically looks like: qodo-merge.yourcompanyname.qodo.ai
  • System administrator access to your Bitbucket workspace.

Installation

1
Navigate to Settings (cog wheel) → Workspace settings.
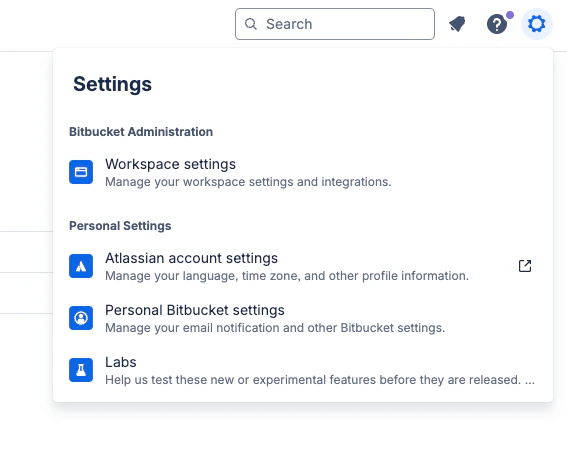
Bitbucket workspace settings navigation
2
On the left-hand side menu, navigate to Installed apps.
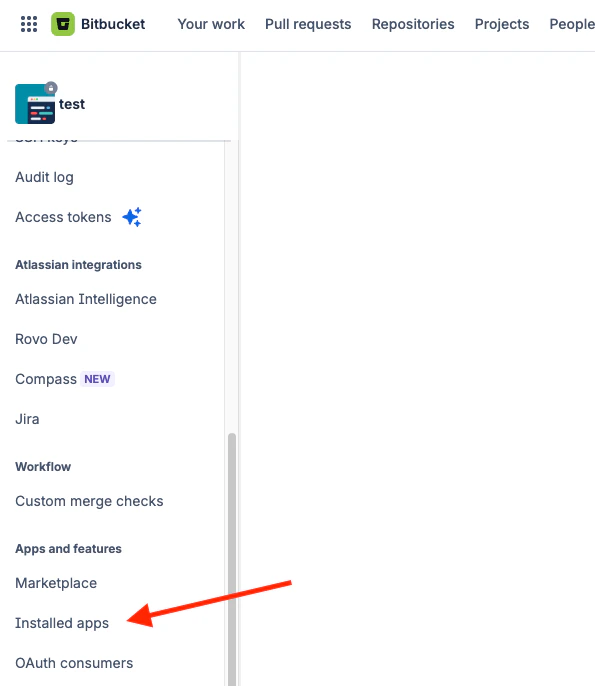
Bitbucket workspace installed apps menu
3
Enable Development mode to allow app installation, then click Install app from URL.
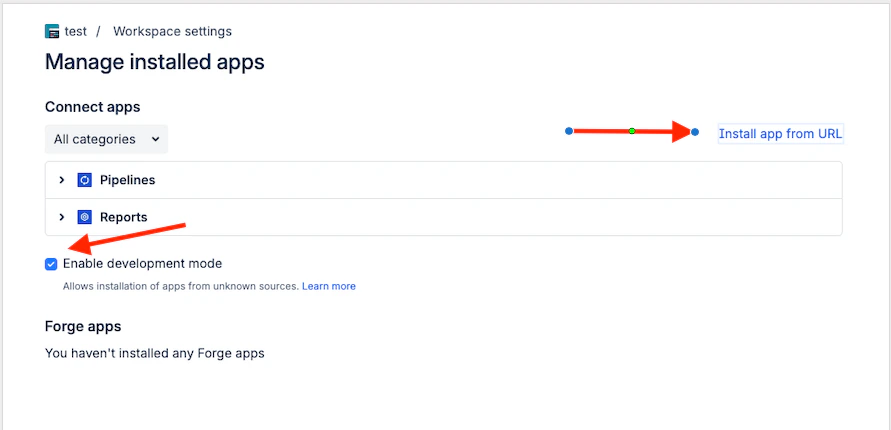
Bitbucket Manage apps page with Development mode enabled and Install app from URL button
4
Enter your Qodo on-premises URL and click Install.
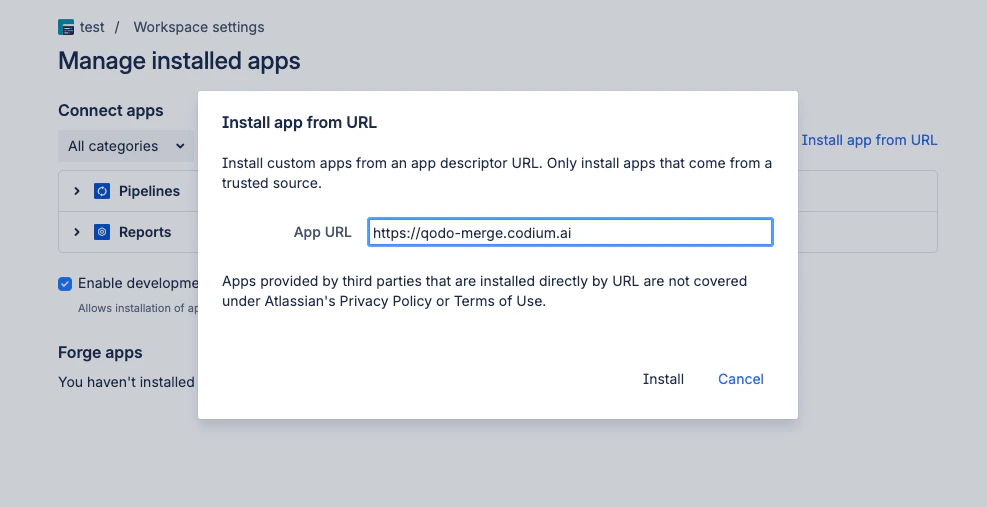
Bitbucket Install app from URL dialog with Qodo URL entered
5
In the popup displayed, click Grant access to the app.
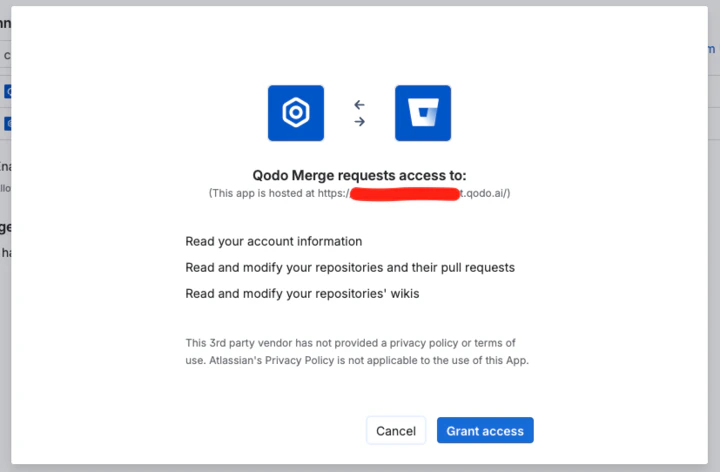
Bitbucket Grant access popup for Qodo app
6
Add your Bitbucket workspace ID to your Qodo on-premises configuration to complete the setup.
Qodo is now enabled for all repositories within your Bitbucket workspace.

Verify the installation

Run a test pull request

1
Open a new pull request in one of the integrated repositories and confirm Qodo is triggered automatically.
2
Add a comment using one of the supported commands:
  • /agentic_describe
  • /agentic_review
Qodo should respond with a review or PR summary directly on the pull request.

What’s next

View Using Qodo in PRs to learn about next steps and how to get the most out of Qodo.