Installing Qodo on GitLab allows you to enhance merge requests with automated insights and improvements. You can configure Qodo for a single repository to start small, or roll it out across multiple projects or groups for broader adoption. Setup typically takes just a few minutes, depending on whether you are using a webhook-based or CI pipeline-based approach. Once configured, Qodo monitors merge requests, processes their content, and publishes actionable output, such as descriptions, reviews, and improvement suggestions, directly in your merge requests.Documentation Index
Fetch the complete documentation index at: https://docs.qodo.ai/llms.txt
Use this file to discover all available pages before exploring further.
1. Log in to the Qodo portal
Before setting up Qodo, make sure you have created a Qodo account and signed in.2. Set up Qodo on GitLab
After signing in to your Qodo account, follow the steps below to set up Qodo on GitLab.GitLab Repository
This installation method is available to subscribed users only. Visit Qodo’s Plans page to learn more.
Generate a GitLab access token:
Generate either a personal, project or group level access token, and store the token in a safe place.Make sure to enable the api scope in order to enable Qodo to read pull requests, comment and respond to requests.
Generate a shared secret through Qodo registration page:
a. Go to https://register.gitlab.pr-agent.codium.ai.
b. Enter your generated GitLab token and your company or personal name in the appropriate fields and click Submit.
c. A shared secret will be generated. Store it in a safe place.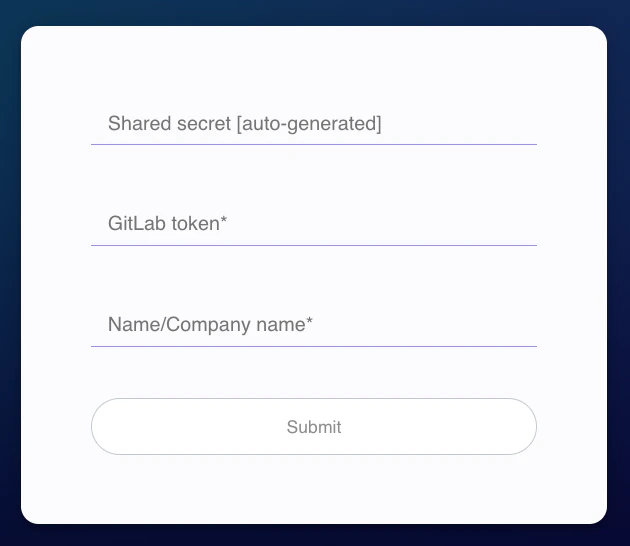
b. Enter your generated GitLab token and your company or personal name in the appropriate fields and click Submit.
c. A shared secret will be generated. Store it in a safe place.
Install a GitLab webhook:
a. Go to the Settings menu in your repository or groups, and click Webhooks.
b. Click Add new webhook.
c. In the webhook definition form, fill in the following fields:
b. Click Add new webhook.
c. In the webhook definition form, fill in the following fields:
- URL: https://pro.gitlab.pr-agent.codium.ai/webhook
- Secret token: Your Qodo key
- Trigger: Check the Comments and Merge request events boxes.
- SSL Verification: Check the Enable SSL verification box.
Visit Using Qodo in PRs to learn about next steps and how to get the most out of Qodo.
GitLab Pipeline
Create a CI file:
Create a new file named
.gitlab-ci.yml with the content below:- This script will run Qodo on every new merge request.
- You can modify the
rulessection to run Qodo on different events. - You can modify the
scriptsection to run different Qodo commands, or with different parameters by exporting different environment variables**.**
- You can modify the
Note:The
$CI_SERVER_FQDN variable is available only from GitLab version 16.10.If you’re using an earlier version, you can combine the variables $CI_SERVER_HOST and $CI_SERVER_PORT to achieve the same result.Add masked variables:
Go to CI/CD, then select Variables. In the masked variables section, add the following masked variables to your GitLab repository:
GITLAB_PERSONAL_ACCESS_TOKEN: Your GitLab personal access token.OPENAI_KEY: Your Open AI key.
protected, or the pipeline will not have access to them.Visit Using Qodo in PRs to learn about next steps and how to get the most out of Qodo.
GitLab webhook server
Create a GitLab user
In the group or project where you want to add Qodo, create a new GitLab user and assign it the Reporter role.
Obtain a webhook secret
Generate a random secret for your application and save it for later use as the
shared_secret. You can use any secure secret generation tool you prefer.Prepare variables and secrets:
a. In the Qodo Merge configuration file:
- Set
config.git_providerto “gitlab”
- Set your AI model key in the respective section
- In the
[gitlab]section:- Set
personal_access_tokenwith the token from step 2. - Set
shared_secretwith the random secret from step 3.
- Set
Visit Using Qodo in PRs to learn about next steps and how to get the most out of Qodo.