

Qodo IDE plugin, formerly Qodo Gen, brings local code review workflows to JetBrains and VS Code as part of the Qodo Platform.
Get started
How to use workflows
To use a workflow, call it with its applicable slash command. In the chatbox in the bottom of the Qodo panel, type / followed by the required workflow’s name. For example:Create a new workflow
To create a new agent:1
Type
/ in the chat input, or click the / button, to open the workflow menu.2
Select
Create new workflow in the workflow menu, then press Enter.3
The workflow creation panel will open.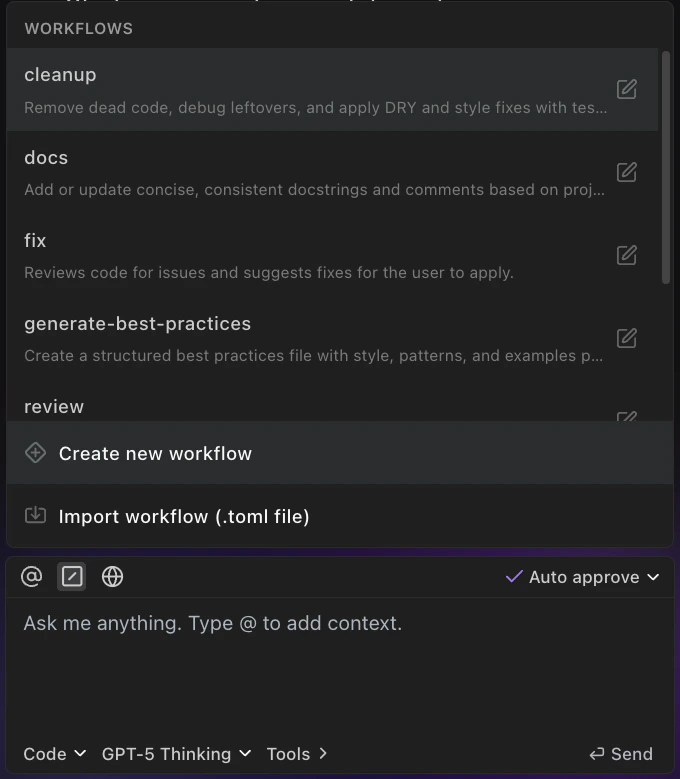
4
Name your workflow (e.g.,
review_agent)5
Steps: Enter natural language instructions for your agent to follow, step-by-step. For example: “1. Review my code changes. 2. Identify potential issues such as anti-patterns, missing error handling, or excessive complexity. 3. Provide a summary of the findings with recommended improvements.”
6
MCP Tools: From the list, select which MCP tools the agent should have access to (e.g.,
filesystem, github, shell).7
Preferable model: From the list, select a preferable AI model for your workflow to use.
8
Description: Add a description for your agent, explaining what it does.
9
Click the Save button.
/ followed by the workflow’s name.
Sharing and reusing workflows
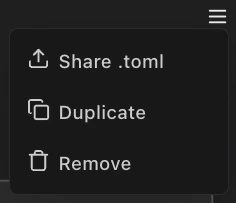
Qodo makes it easy to collaborate by letting you share and reuse custom workflows across your team. Share button Click the share button in a workflow’s configuration page to share your workflow (click the menu button on the top right, then select Share .toml). This allows you to export the workflow’s configurationas a .toml file, so others can easily import and use it in their environment.
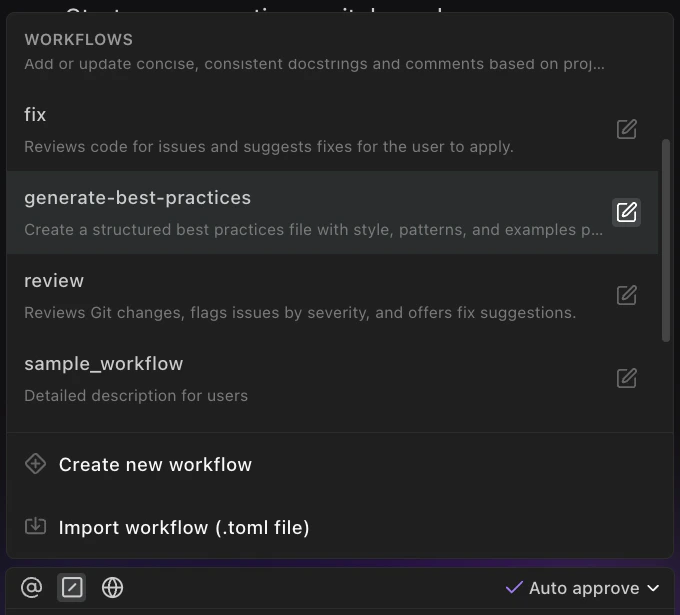
.toml file to import an existing workflow into Qodo. Learn more about agent .toml file.
This makes it simple to standardize useful tools across your organization, or share helpful setups with teammates.