

Using GitHub Enterprise Server? The installation flow is the same as Qodo single-tenant. See Qodo single-tenant.
Not sure which deployment model you need? See Install Qodo in your Git provider for a full comparison, or check your deployment type.
Prerequisites
Before you begin, ensure you have:- Access to your Qodo multi-tenant portal.
- GitHub organization admin access.
Access the GitHub integration
1
Log in to your Qodo portal.
2
Start the installation wizard in one of the following ways:
- From the onboarding wizard: If you’re an organization admin signing in for the first time, the onboarding wizard opens automatically. In the Connect Git step, select GitHub. See Set up Qodo with the onboarding wizard.
- From the homepage: On the homepage, in the top right-hand side, click the + button next to Git providers. On the selection page, choose GitHub.
Install Qodo using the wizard
The wizard guides you through two steps:1
Review the install guide
The wizard shows the install guide, a preview of the repository access configuration you will complete on GitHub.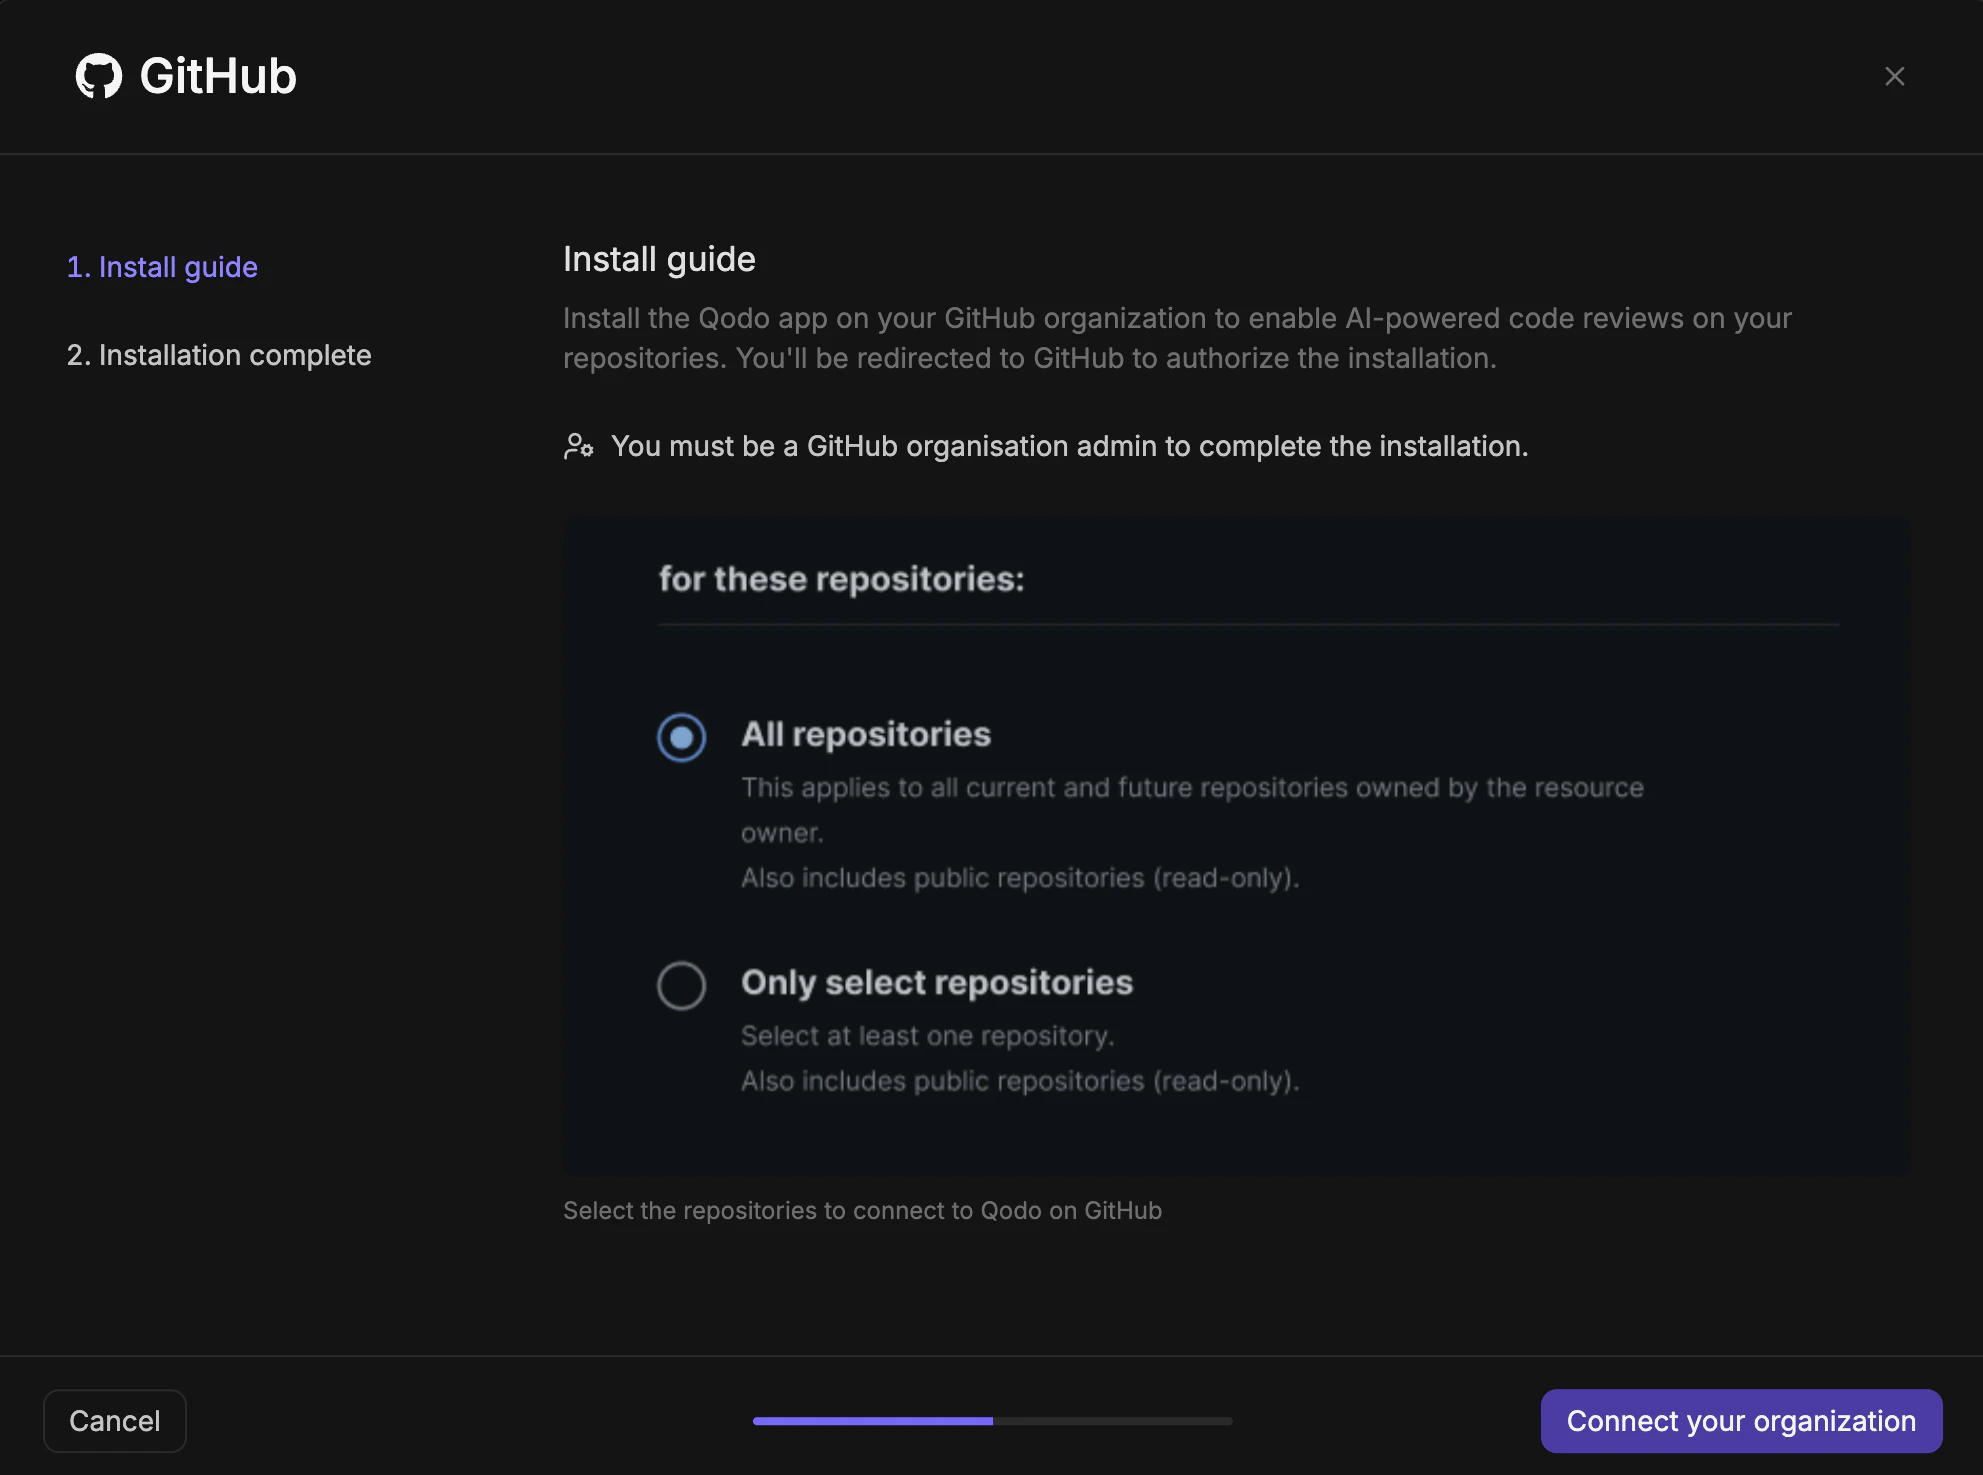
1
Click Connect your organization. You are redirected to GitHub.
2
Authorize the installation and confirm repository access, then click Install. You are redirected back to the Qodo wizard.
2
Complete the installation
The wizard confirms that Qodo has been successfully installed on your GitHub organization and that AI code review, auto rule generation, and codebase context are enabled.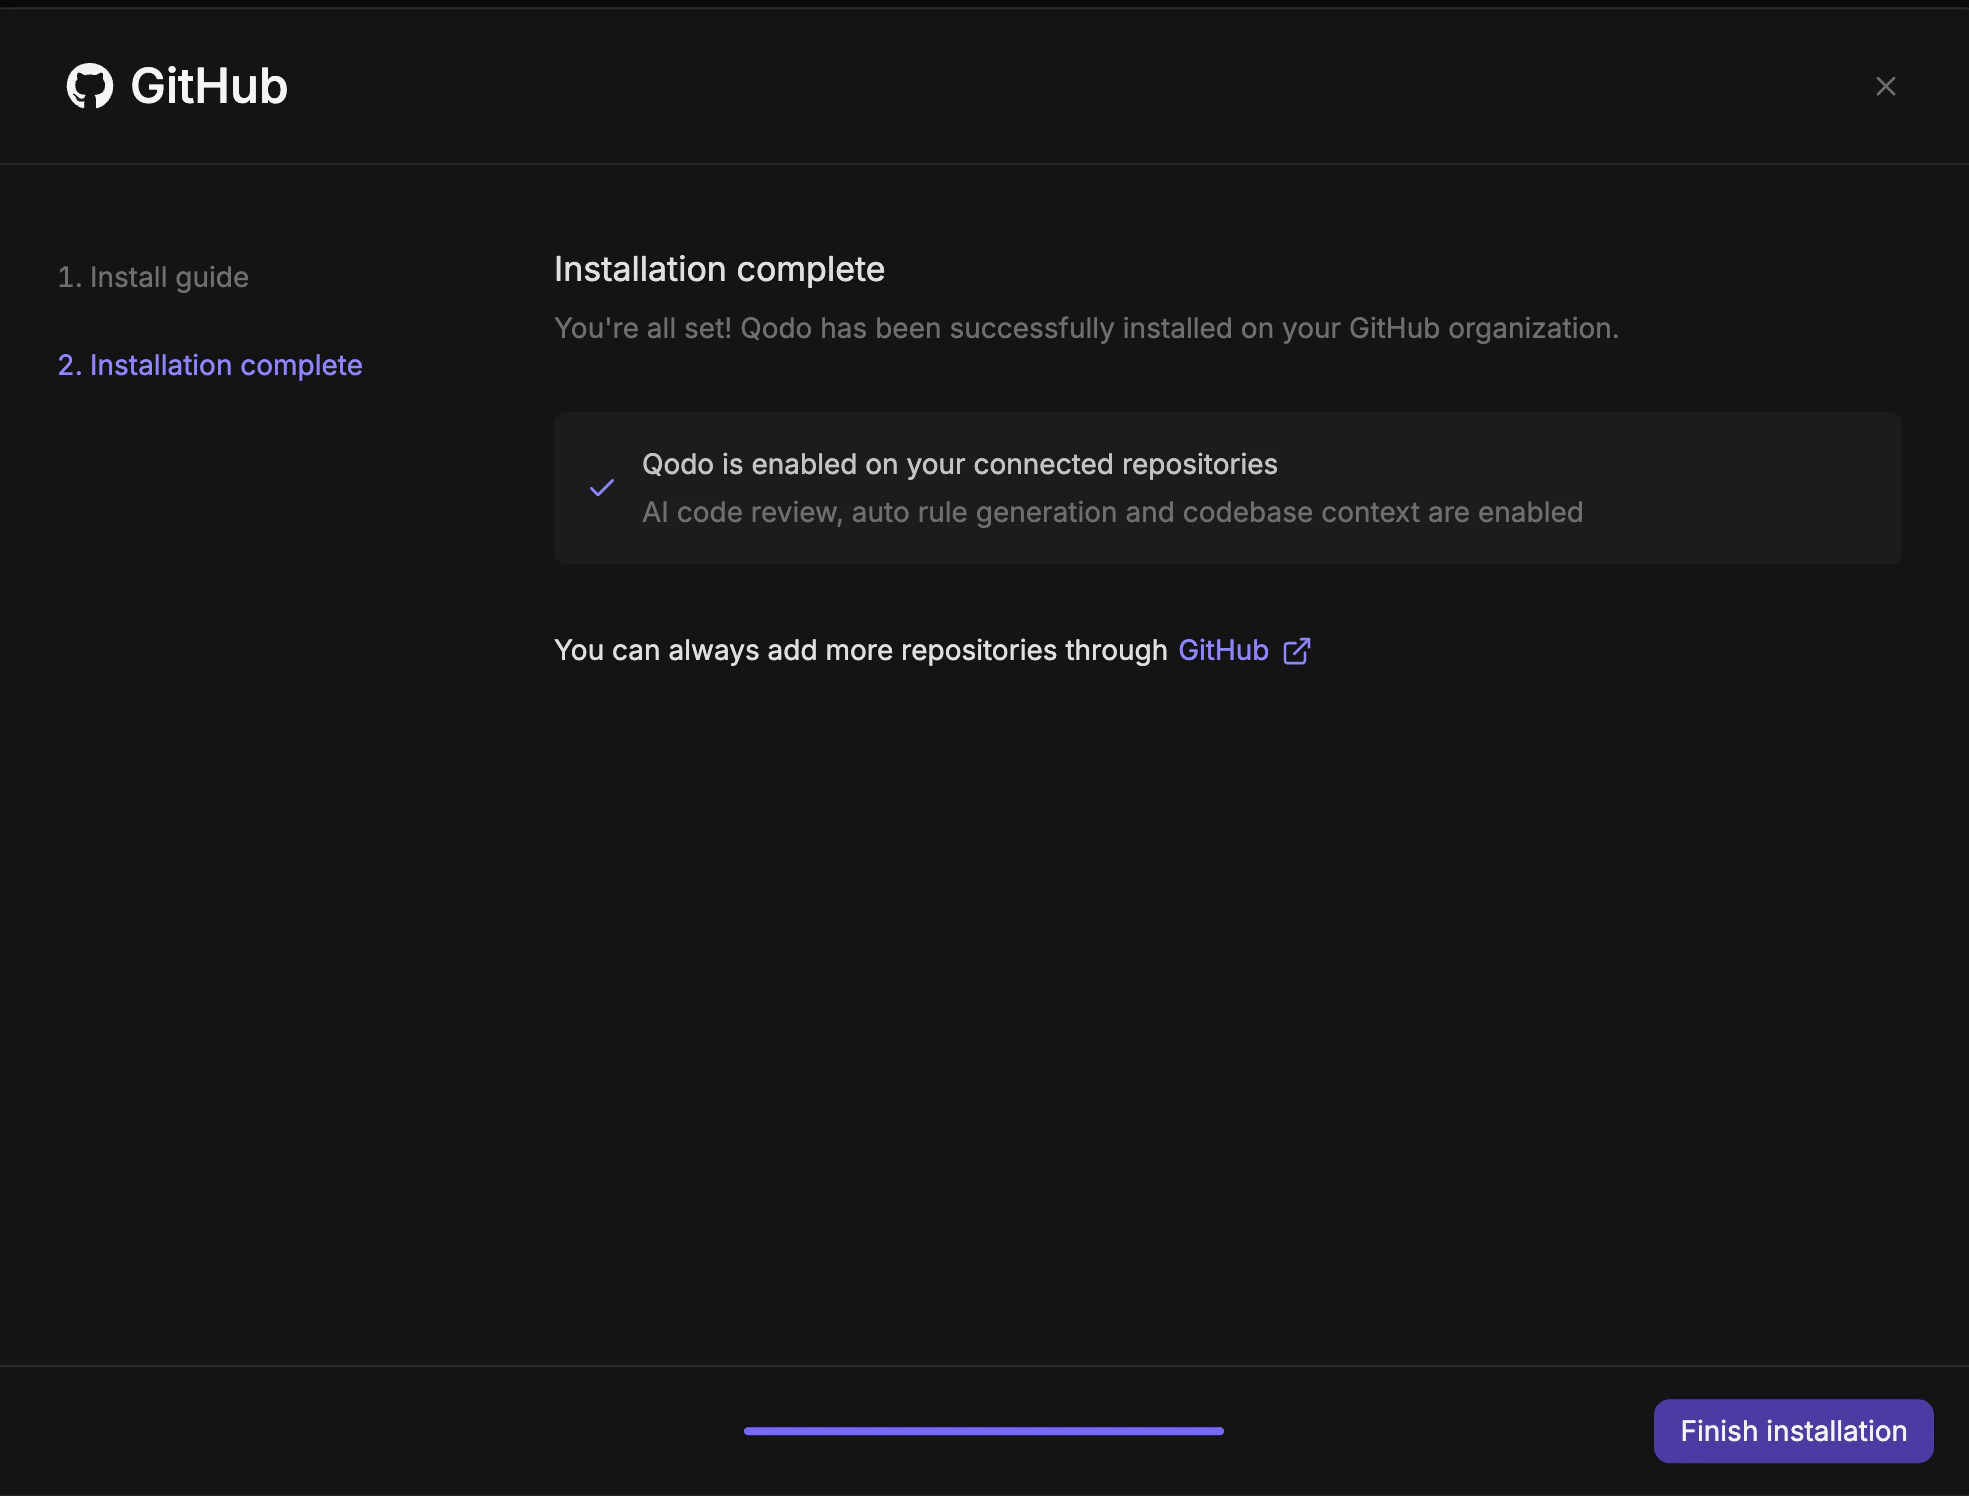
If you’re connecting your Git provider as part of the onboarding wizard, the wizard continues to the next onboarding step once the connection completes. See Set up Qodo with the onboarding wizard.
What happens after you connect
Qodo starts building context for your code reviews, and the following processes run automatically in the background:- Repository sync: Syncs each connected repository with Qodo.
- Pull request indexing: Indexes each repository’s pull request history.
- Cross-repo discovery: Finds relationships between your repositories.
Verify the installation
1
Open a new pull request in one of the configured repositories and confirm Qodo is triggered automatically.
2
Add a comment using one of the supported commands:
/agentic_describe/agentic_review
Manage repositories after installation
- To add or remove repositories, go to your GitHub App settings and update which repositories the app can access.
- To enable or disable Qodo on individual repositories within your current scope, use the Repositories page in the Qodo portal.
Troubleshooting
GitHub organization already connected to another workspace
If you see this message:GITHUB_ID_ALREADY_CLAIMED
Common causes:
- A personal account installed Qodo before a company account did.
- The account that originally installed Qodo was deleted.
- A different company account installed Qodo on the same organization.
Next steps
- Trigger a code review: Run a review automatically or on demand.
- Repositories page: Manage which repositories Qodo is active on.