

Multi-tenantSingle-tenant
You can generate and manage personal API keys in the Qodo portal. Each API key is assigned to the user who creates it and can authenticate requests to Qodo services and integrations, including features like Skills.
API key rules and limitations
- API keys can only be copied during generation. They will not be shown again afterward.
- API keys can be configured with an expiration period when they are created.
- An expired API key can no longer be used for authentication.
Create an API key
1
Log in to the Qodo portal.
2
Open the user menu in the bottom-left corner and select API Keys.The API Keys page opens.
3
Click Create API Key.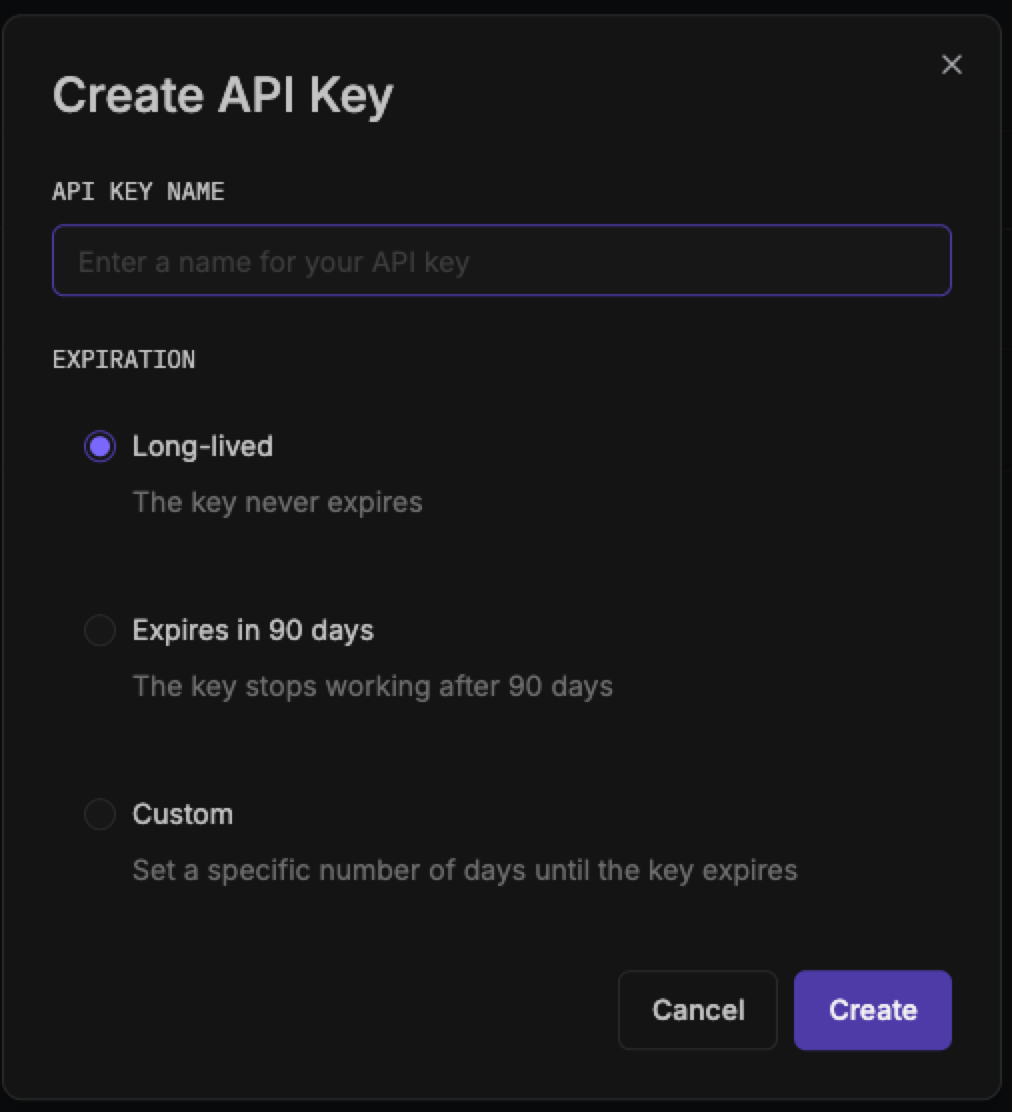
4
Under API Key Name, enter a descriptive name to help identify the key later.
5
Under Expiration, select when the API key should expire:
- Long-lived: The key never expires. This is the default.
- Expires in 90 days: The key expires 90 days after it is created.
- Custom: Set a specific number of days until the key expires. The maximum is 365.
6
Click Create.The API Key Created dialog opens, displaying the API key (masked with asterisks).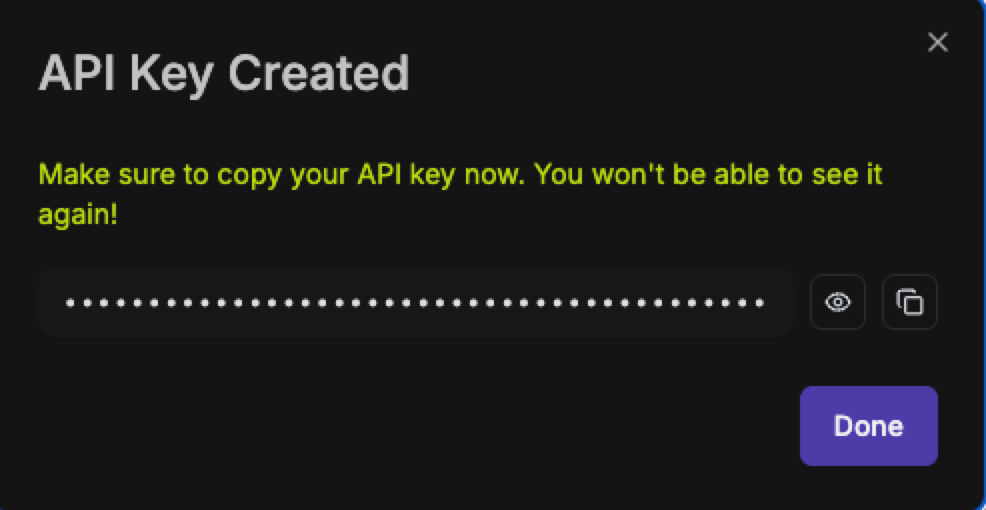
7
Copy the API key and store it securely for future use.
8
Click Done.The key is now added to the API key list.
Revoke an API key
Revoking an API key immediately disables all services and integrations using it. Use revocation if a key is compromised, no longer needed, or requires rotation. Once revoked, the API key can no longer be used for authentication.1
In the API Keys table, locate the relevant key.
2
Open the three-dot menu at the end of the row.
3
Click Revoke.The Revoke API Key dialog opens.
4
Click Revoke.The API key is removed from the list.