
Enabling a Wiki
Supported platforms: GitHub, GitLab, Bitbucket (Not supported on Bitbucket Data Center), Azure DevOps.
For the best experience with Qodo Git interface, we recommend enabling a wiki for each repository where it is installed.
What is a Wiki?
Set configurations by creating a page called .pr_agent.toml in the wiki of the repo.
The advantage of this method is that it allows to set configurations without needing to commit new content to the repository: just edit the wiki page and save.

Benefits of creating a Wiki
Storing your Qodo Git interface configuration file.
Tracking accepted code suggestions over time.
Improve your Qodo experience over time by creating a
auto_best_practices.mdfile to capture learning and best practices automatically.
How to Enable a Wiki
GitHub
Go to your repository’s main page on GitHub.
Click Settings in the top navigation bar.
Scroll to the Features section.
Check the box to Enable Wikis.
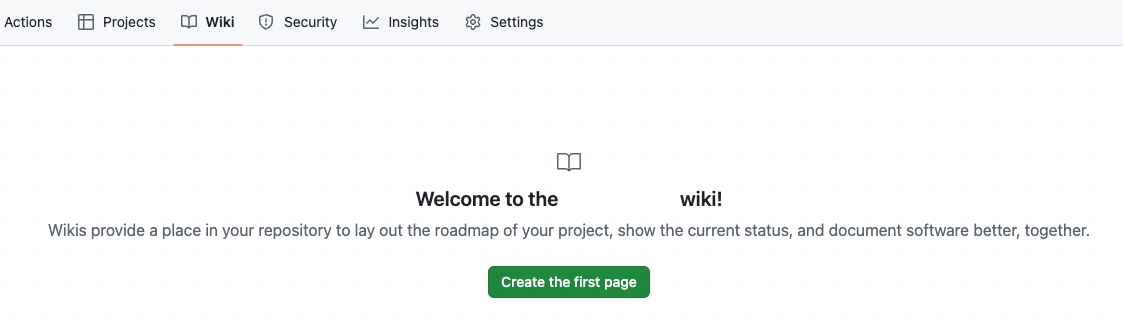
Return to the repository’s main page and click the new Wiki tab.
Click Create the first page and save it.
Important: The wiki must have at least one page to be fully active.
To initialize the wiki: navigate to Wiki, select Create the first page, then click Save page.
Azure Devops
Go to your project's Overview panel
In the dropdown, choose "Wiki"
Click on "Create Project Wiki"
As the page title, use: home
Save & Close
Refresh the page. You should now see a house icon next to "home"
To add files/folders, move the mouse hover to the three perpendicular dots, click on: "Add sub-page"
Important Notes for Azure DevOps
Since wiki is at project level and not repo level, please add an empty sub page with your repo name.
Since files in wiki cannot begin with a dot (such as .pr_agent.toml), simply remove the leading dot.

Writing wiki content
We recommend surrounding the configuration content with triple-quotes ```, to allow better presentation when displayed as markdown.
Qodo will know to remove the surrounding quotes when reading the configuration content.
Last updated