> ## Documentation Index
> Fetch the complete documentation index at: https://docs.qodo.ai/llms.txt
> Use this file to discover all available pages before exploring further.
# Install Qodo on GitHub Cloud - Multi-tenant
> Multi-tenant GitHub Cloud install guide for Qodo automated code review.
Using GitHub Enterprise Server? The installation flow is the same as Qodo single-tenant. See [Qodo single-tenant](/install-qodo/github/qodo-single-tenant).
Not sure which deployment model you need? See [Install Qodo in your Git provider](/install-qodo/install) for a full comparison, or [check your deployment type](/deployment-models#check-your-deployment-type).
Install Qodo on GitHub Cloud using the built-in wizard. Installing from the Qodo portal rather than GitHub Marketplace ensures every feature is enabled and correctly configured. Assuming your environment is already set up, the process takes about 5 minutes.
## Prerequisites
Before you begin, ensure you have:
* Access to your Qodo multi-tenant portal.
* GitHub organization admin access.
## Access the GitHub integration
Install using the GitHub account and Qodo workspace you intend to use for your organization going forward. A GitHub organization stays bound to whichever Qodo workspace installs it first, and reassigning it to a different workspace later requires contacting Qodo support. See [Troubleshooting](#troubleshooting).
Log in to your [Qodo portal.](https://app.qodo.ai/signin)
Start the wizard in one of the following ways:
Navigate to **Integrations**, select the **SaaS** tab, and click **Add installation** on the **GitHub** card.
On the homepage, in the top right-hand side, click the **+** button next to Git providers. On the selection page, choose **GitHub**.
## Install Qodo using the wizard
The wizard guides you through two steps:
The wizard shows the install guide, a preview of the repository access configuration you will complete on GitHub.
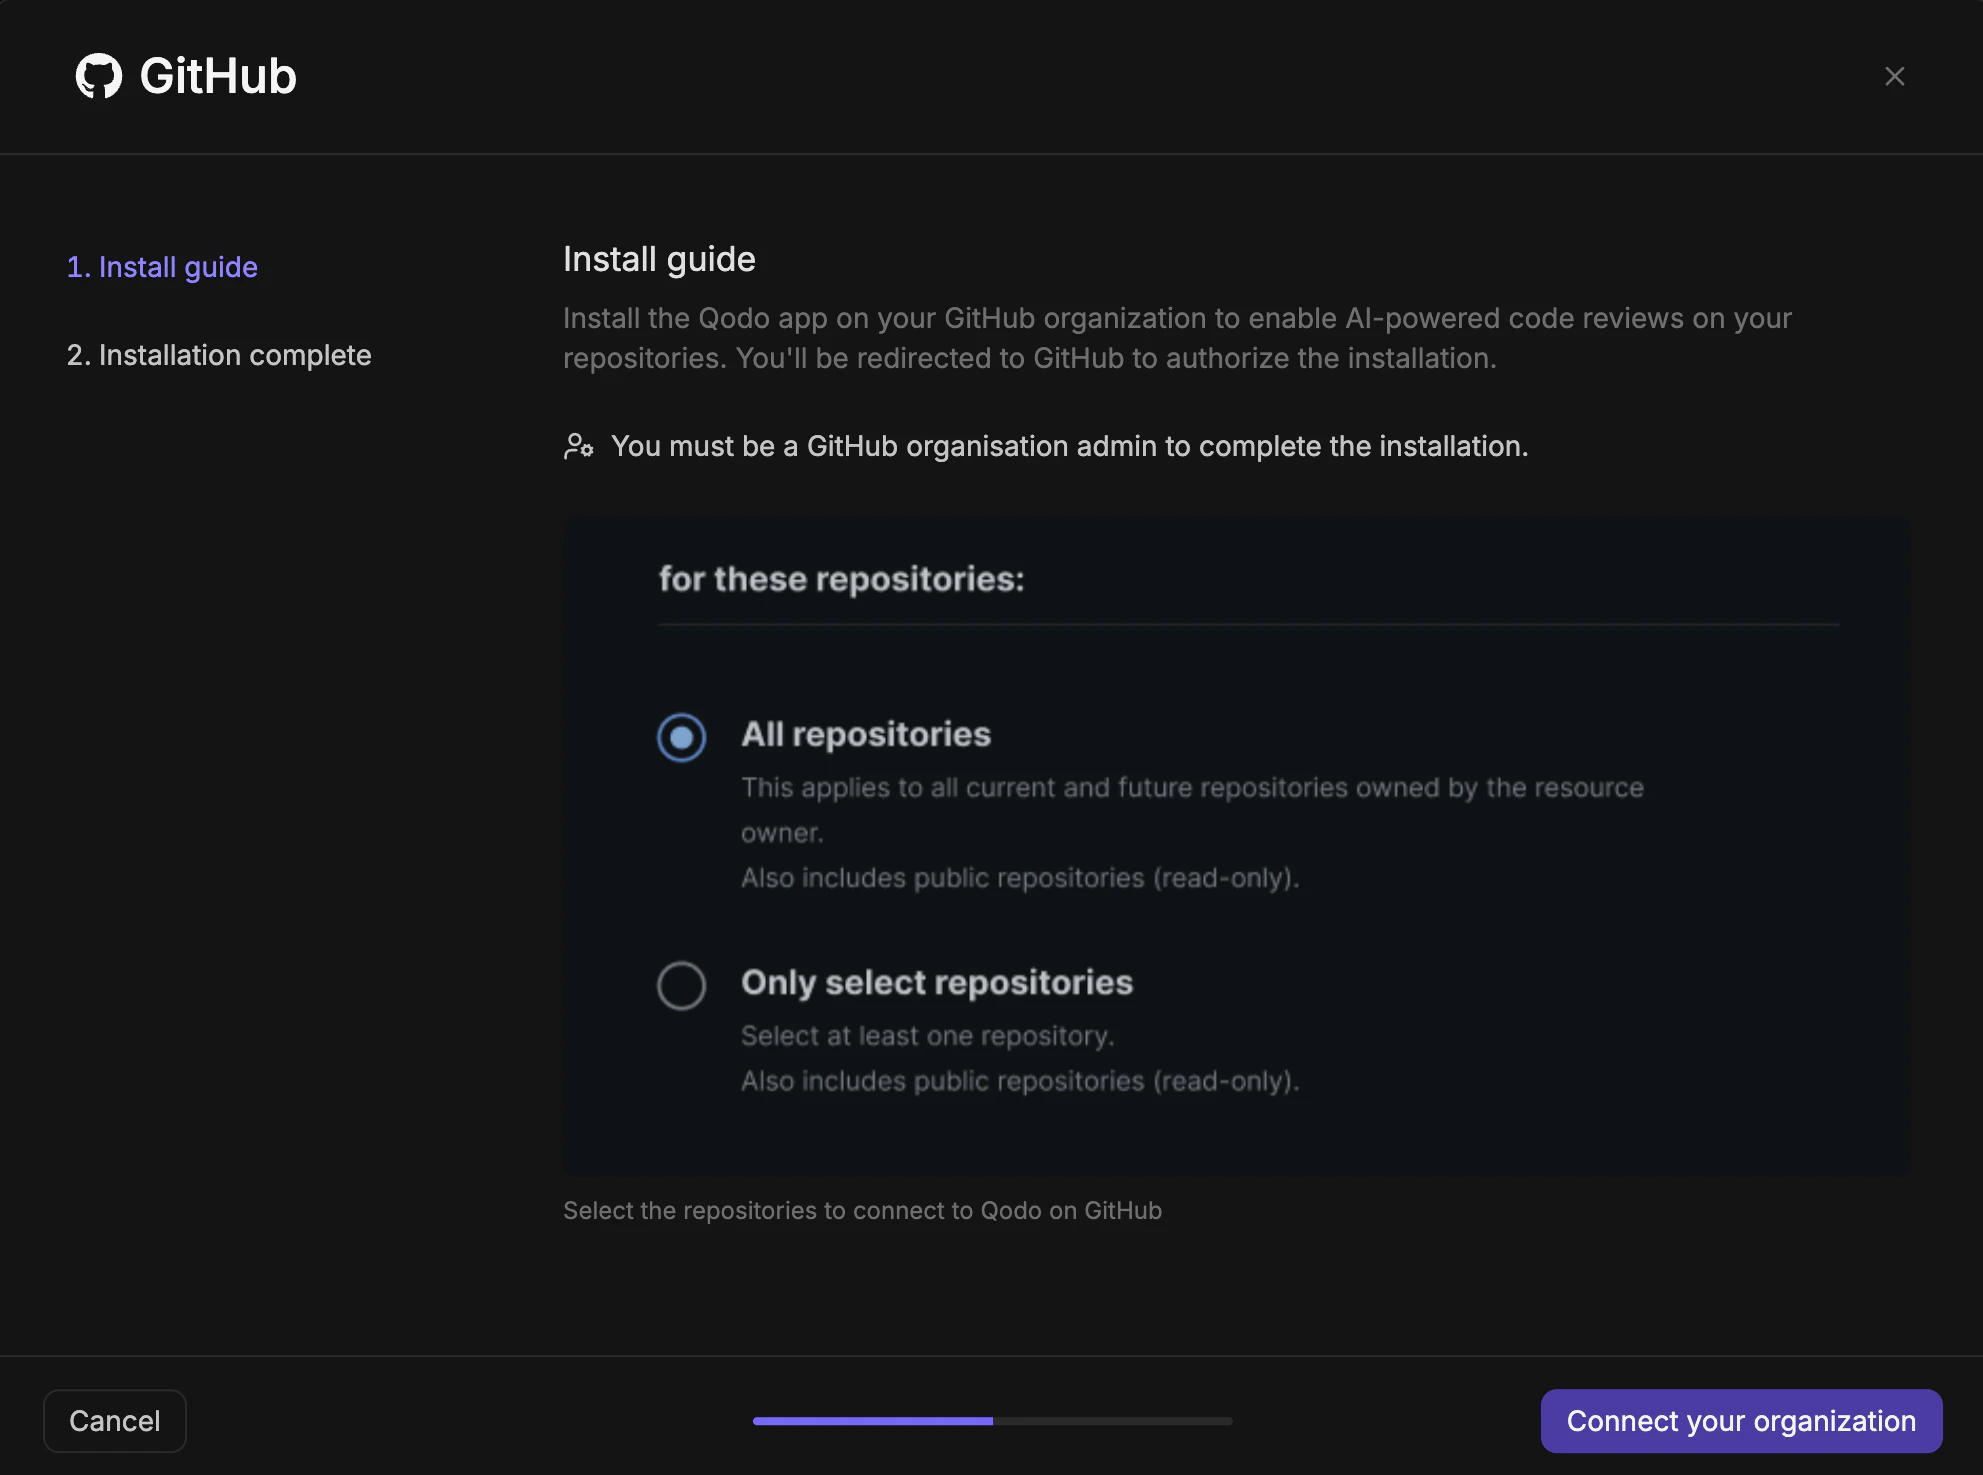 Click **Connect your organization**. You are redirected to GitHub.
Authorize the installation and confirm repository access, then click **Install**. You are redirected back to the Qodo wizard.
The wizard confirms that Qodo has been successfully installed on your GitHub organization and that AI code review, auto rule generation, and codebase context are enabled.
Click **Connect your organization**. You are redirected to GitHub.
Authorize the installation and confirm repository access, then click **Install**. You are redirected back to the Qodo wizard.
The wizard confirms that Qodo has been successfully installed on your GitHub organization and that AI code review, auto rule generation, and codebase context are enabled.
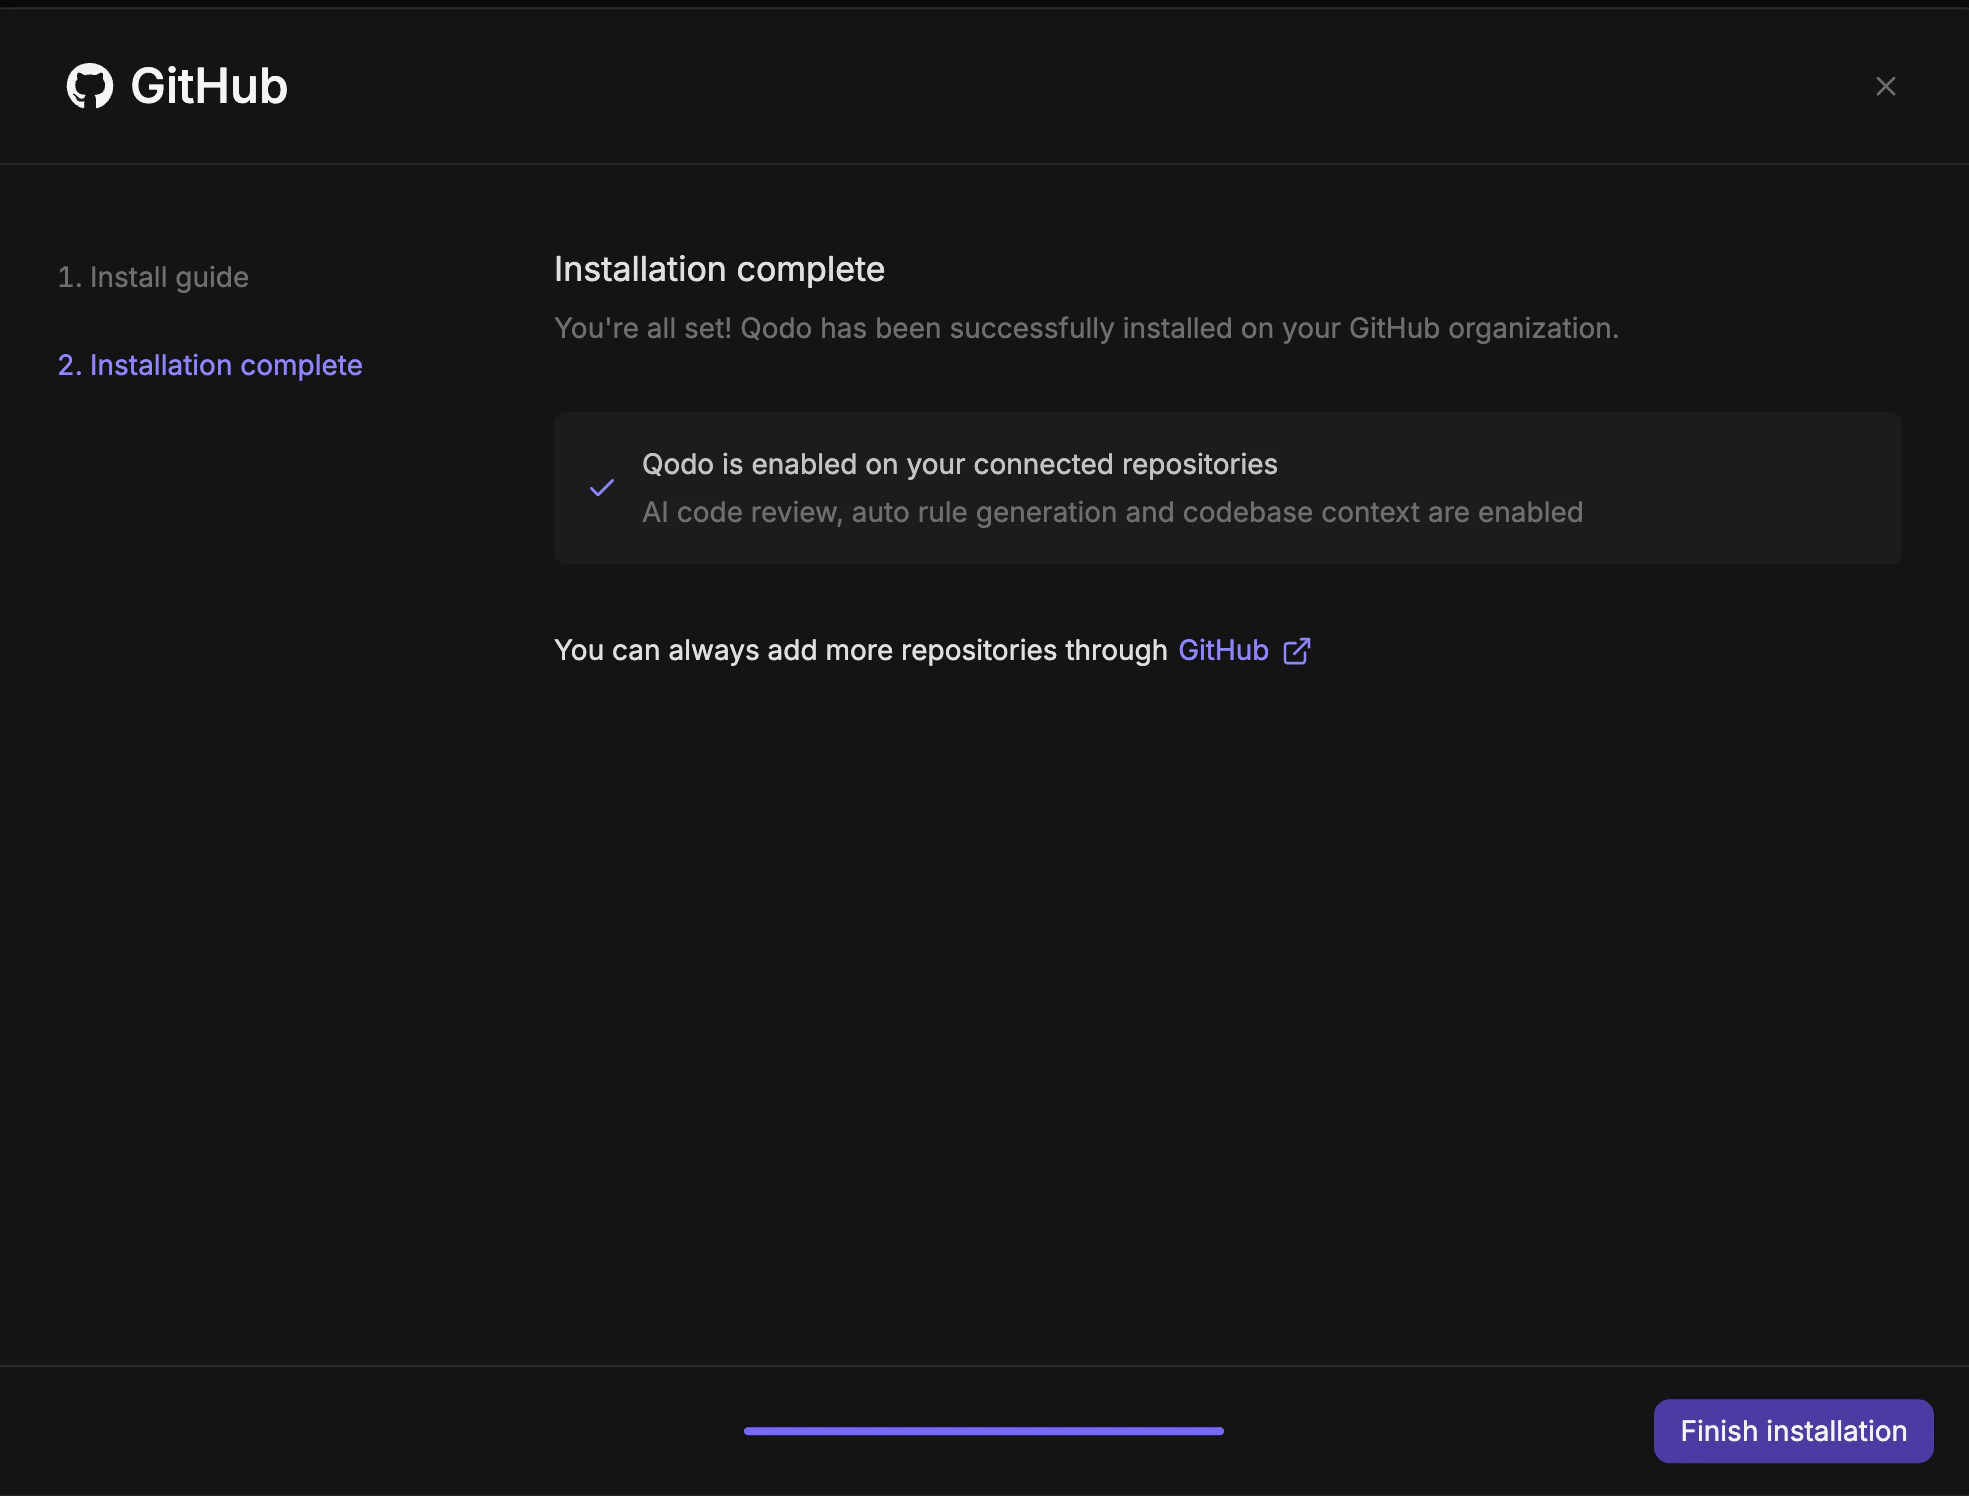 Click **Finish installation**. You are redirected to the **Integrations** page.
Qodo is now active on the selected repositories.
## Verify the installation
Open a new pull request in one of the configured repositories and confirm Qodo is triggered automatically.
Add a comment using one of the supported commands:
* `/agentic_describe`
* `/agentic_review`
Qodo should respond with a review or PR summary directly on the pull request.
## Manage repositories after installation
* To add or remove repositories, go to your GitHub App settings and update which repositories the app can access.
* To enable or disable Qodo on individual repositories within your current scope, use the [Repositories page](/administration/repositories) in the Qodo portal.
## Troubleshooting
### GitHub organization already connected to another workspace
If you see this message:
```
This GitHub organization is already connected to another Qodo workspace.
```
Error code: `GITHUB_ID_ALREADY_CLAIMED`
Common causes:
* A personal account installed Qodo before a company account did.
* The account that originally installed Qodo was deleted.
* A different company account installed Qodo on the same organization.
This can also happen silently: clicking **Add installation** on the Integrations page redirects to a GitHub page for managing an app that's already installed, instead of the Qodo setup wizard. Back in the Qodo portal, the organization still shows as not connected, with no error shown.
Contact [Qodo support](mailto:support@qodo.ai) with the GitHub organization name to identify and resolve the existing installation.
## Next steps
* [Trigger a code review](/code-review/use-qodo-in-prs): Run a review automatically or on demand.
* [Repositories page](/administration/repositories): Manage which repositories Qodo is active on.
Click **Finish installation**. You are redirected to the **Integrations** page.
Qodo is now active on the selected repositories.
## Verify the installation
Open a new pull request in one of the configured repositories and confirm Qodo is triggered automatically.
Add a comment using one of the supported commands:
* `/agentic_describe`
* `/agentic_review`
Qodo should respond with a review or PR summary directly on the pull request.
## Manage repositories after installation
* To add or remove repositories, go to your GitHub App settings and update which repositories the app can access.
* To enable or disable Qodo on individual repositories within your current scope, use the [Repositories page](/administration/repositories) in the Qodo portal.
## Troubleshooting
### GitHub organization already connected to another workspace
If you see this message:
```
This GitHub organization is already connected to another Qodo workspace.
```
Error code: `GITHUB_ID_ALREADY_CLAIMED`
Common causes:
* A personal account installed Qodo before a company account did.
* The account that originally installed Qodo was deleted.
* A different company account installed Qodo on the same organization.
This can also happen silently: clicking **Add installation** on the Integrations page redirects to a GitHub page for managing an app that's already installed, instead of the Qodo setup wizard. Back in the Qodo portal, the organization still shows as not connected, with no error shown.
Contact [Qodo support](mailto:support@qodo.ai) with the GitHub organization name to identify and resolve the existing installation.
## Next steps
* [Trigger a code review](/code-review/use-qodo-in-prs): Run a review automatically or on demand.
* [Repositories page](/administration/repositories): Manage which repositories Qodo is active on.