> ## Documentation Index
> Fetch the complete documentation index at: https://docs.qodo.ai/llms.txt
> Use this file to discover all available pages before exploring further.
# Install Qodo on GitHub - Single-tenant and Enterprise Server
> Single-tenant and GitHub Enterprise Server install guide for Qodo automated code review.
* This guide applies to the following deployment combinations, all of which use the same installation wizard:
* Qodo single-tenant with GitHub Cloud
* Qodo single-tenant with GitHub Enterprise Server
* Qodo multi-tenant with GitHub Enterprise Server
* Not sure which deployment model you need? See [Install Qodo in your Git provider](/install-and-configure/install) for a full comparison, or [check your deployment type](/deployment-models#check-your-deployment-type).
This guide walks you through installing Qodo on GitHub using the built-in wizard. Assuming your Qodo environment is already set up, the process takes about 5 minutes.
## Prerequisites
Before you begin, ensure you have:
* Access to your Qodo portal.
* Sufficient permissions to create GitHub applications.
## Access the GitHub integration
Log in to your Qodo portal. For single-tenant accounts, your portal URL follows the pattern `app.yourcompany.st.qodo.ai` and is provided by your Qodo Account Manager.
From the left-hand navigation menu, select **Integrations**.
Locate the relevant card and click **Add installation** to launch the setup wizard:
* If you are using **GitHub Cloud**, select the **SaaS** tab and locate the **GitHub** card.
* If you are using **GitHub Enterprise Server**, select the **Self-Hosted** tab and locate the **GitHub Enterprise** card.
## Install Qodo using the wizard
The wizard guides you through six steps:
{/*
```mermaid
flowchart LR
A("1.
Organization
details") --> B("2.
Review
manifest") --> C("3.
Install
guide") --> D("4.
Check
connection") --> E("5.
Recommended
display") --> F("6.
Enable
Qodo")
```
*/}
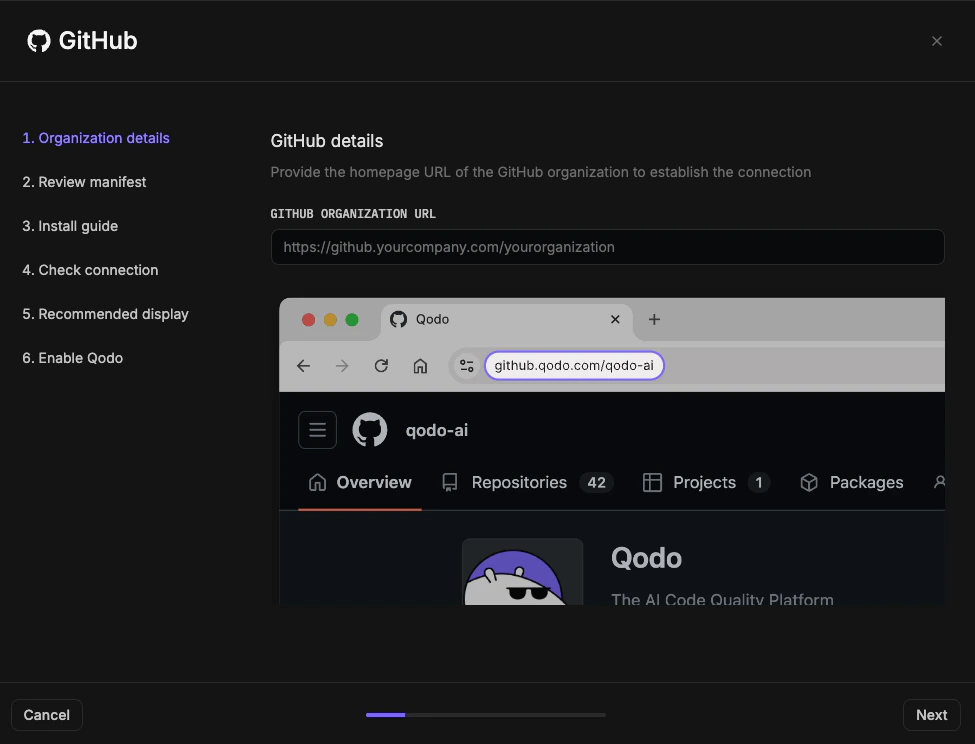
Enter your GitHub organization homepage URL and click **Next**. If you are using GitHub Enterprise Server, enter your server's homepage URL (for example, `https://github.mycompany.com`).
 Review the **Manifest**, which defines the configurations and permissions Qodo requires. If you have questions about permissions or need adjustments, contact your **Qodo Account Manager** before proceeding.
Click **Next**.
Review the **Installation guide** for the steps you will configure in GitHub, then click **Install GitHub App**. You are redirected to GitHub.
**In GitHub**
Enter a name for the GitHub App (for example, your organization name + Qodo).
Click **Create GitHub App for \[your organization name]**.
Select the GitHub user account to authorize the app. If the displayed account is correct, click **Continue**; otherwise sign in with a different account.
Select which repositories Qodo can access: **All repositories** (recommended) or **Selected repositories only**. Repository-level settings can later be managed from the Qodo portal.
Review the **Manifest**, which defines the configurations and permissions Qodo requires. If you have questions about permissions or need adjustments, contact your **Qodo Account Manager** before proceeding.
Click **Next**.
Review the **Installation guide** for the steps you will configure in GitHub, then click **Install GitHub App**. You are redirected to GitHub.
**In GitHub**
Enter a name for the GitHub App (for example, your organization name + Qodo).
Click **Create GitHub App for \[your organization name]**.
Select the GitHub user account to authorize the app. If the displayed account is correct, click **Continue**; otherwise sign in with a different account.
Select which repositories Qodo can access: **All repositories** (recommended) or **Selected repositories only**. Repository-level settings can later be managed from the Qodo portal.
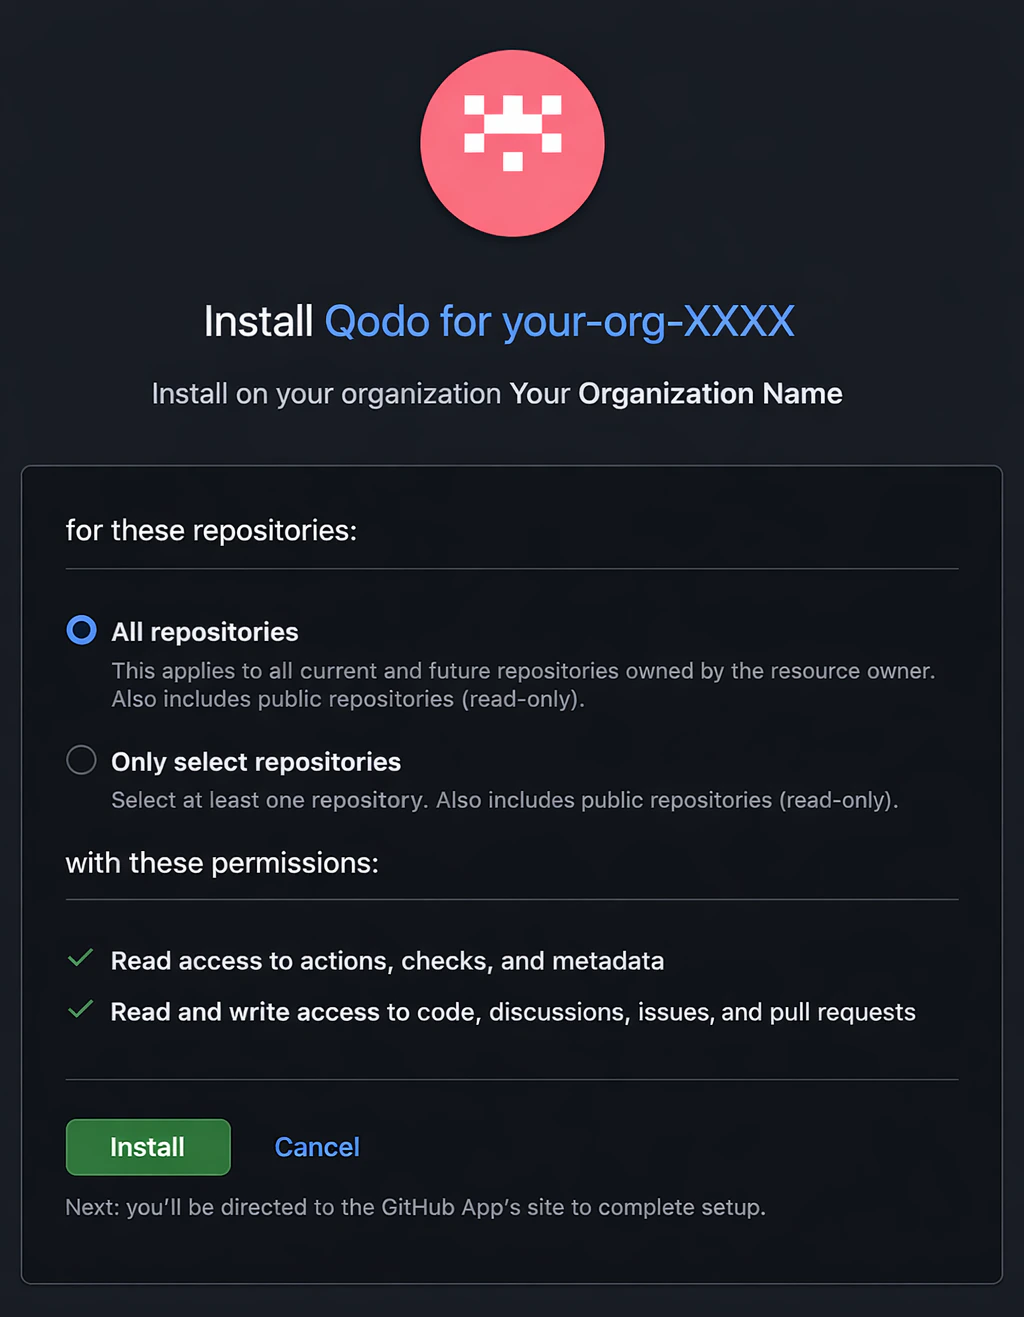 Click **Install**. You are redirected back to the Qodo portal.
Check for a *"GitHub installation successful"* message.
Click **Next**. If unsuccessful, click **Test Connection** to retry. If it fails again, contact your **Qodo Account Manager**.
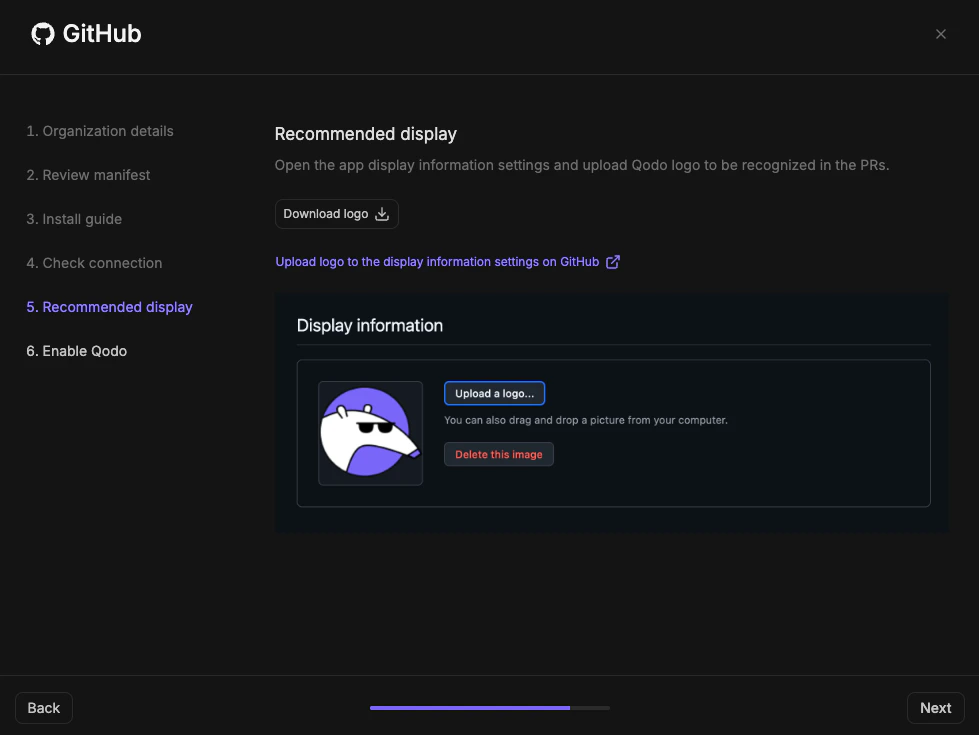
To ensure Qodo appears consistently in pull requests:
Click **Download logo** to download the official Qodo logo.
Click **Upload logo to the display information settings on GitHub** to open the GitHub App settings page.
Upload the Qodo logo as the app logo and click **Save**. You are redirected back to the Qodo portal wizard.
Click **Next**.
Click **Install**. You are redirected back to the Qodo portal.
Check for a *"GitHub installation successful"* message.
Click **Next**. If unsuccessful, click **Test Connection** to retry. If it fails again, contact your **Qodo Account Manager**.
To ensure Qodo appears consistently in pull requests:
Click **Download logo** to download the official Qodo logo.
Click **Upload logo to the display information settings on GitHub** to open the GitHub App settings page.
Upload the Qodo logo as the app logo and click **Save**. You are redirected back to the Qodo portal wizard.
Click **Next**.
 * Click **Finish Installation**.
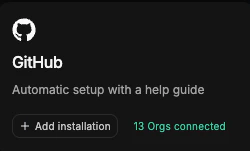
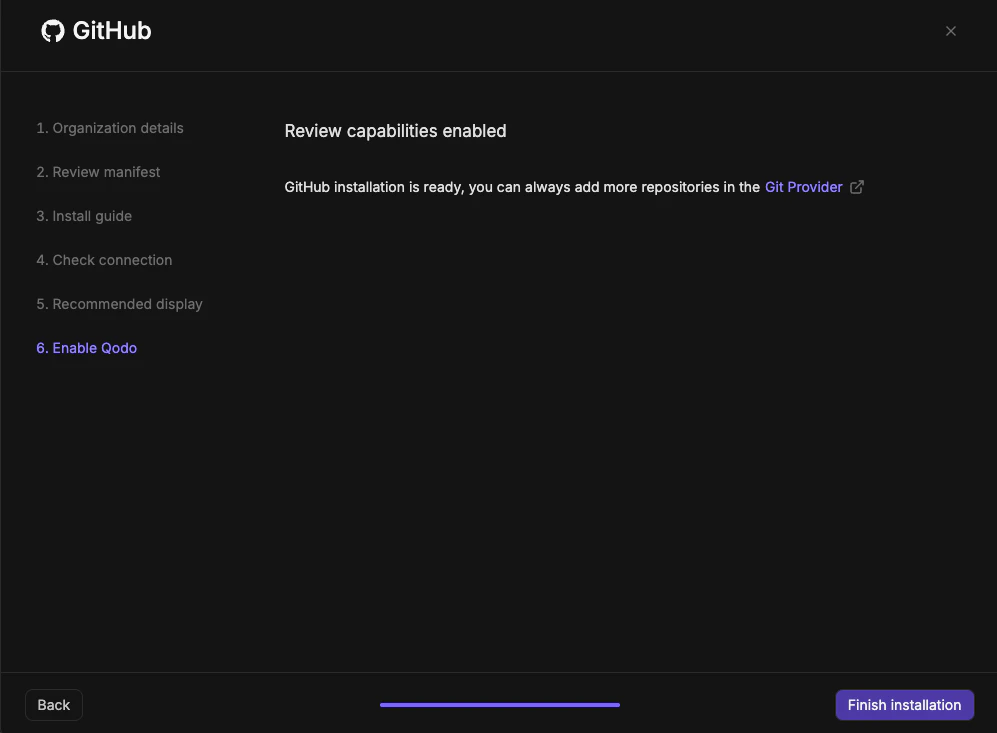 You are redirected to the **Integrations** page, where the GitHub card shows your connected organizations.
 Qodo is now active on the selected repositories.
## Verify the installation
Open a new pull request in the configured repositories and confirm that Qodo is triggered automatically.
Add a comment using one of the supported commands:
* `/agentic_describe`
* `/agentic_review`
Qodo should respond with a review or PR summary directly on the pull request.
## Manage repositories after installation
* To add or remove repositories, go to your GitHub App settings and update which repositories the app can access.
* To enable or disable Qodo on individual repositories within your current scope, use the [Repositories page](/administration/repositories) in the Qodo portal.
## Next steps
* [Using Qodo in PRs](/code-review/use-qodo-in-prs): Get the most out of Qodo.
* [Repositories page](/administration/repositories): Manage which repositories Qodo is active on.
Qodo is now active on the selected repositories.
## Verify the installation
Open a new pull request in the configured repositories and confirm that Qodo is triggered automatically.
Add a comment using one of the supported commands:
* `/agentic_describe`
* `/agentic_review`
Qodo should respond with a review or PR summary directly on the pull request.
## Manage repositories after installation
* To add or remove repositories, go to your GitHub App settings and update which repositories the app can access.
* To enable or disable Qodo on individual repositories within your current scope, use the [Repositories page](/administration/repositories) in the Qodo portal.
## Next steps
* [Using Qodo in PRs](/code-review/use-qodo-in-prs): Get the most out of Qodo.
* [Repositories page](/administration/repositories): Manage which repositories Qodo is active on.